Makeup
Blusher 101: How to Apply Blush for that Rosy Pop of Colour
The beauty market is flooded with one too many blushers, but more often than not, blushers are one of the...
By: / January 30, 2020
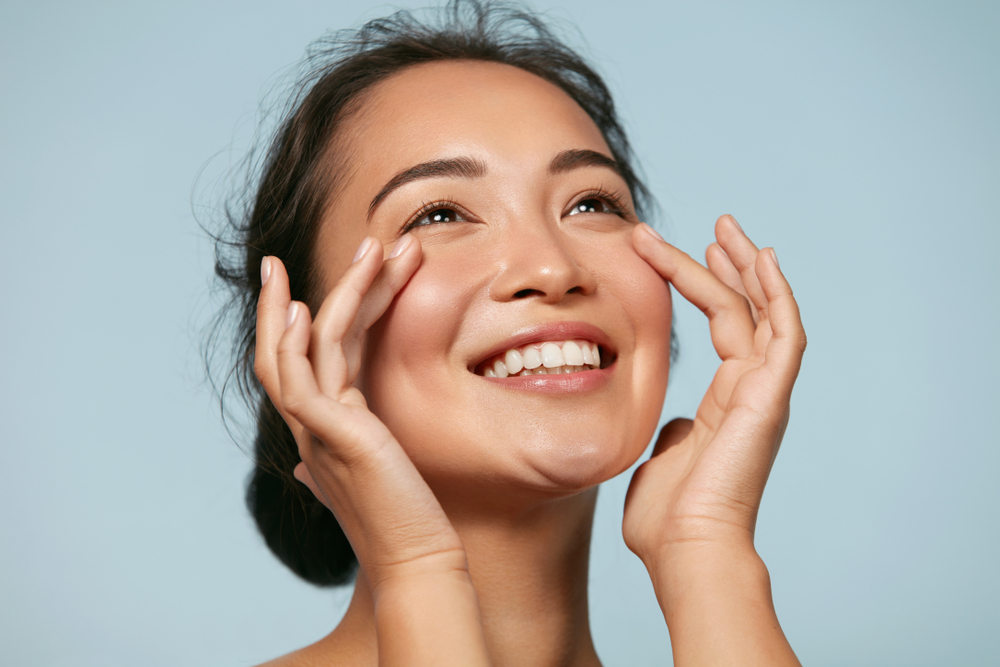
The beauty market is flooded with one too many blushers, but more often than not, blushers are one of the most overlooked beauty products. With that being said, it is time to shine the spotlight on the underdogs of our beauty arsenals. After all, blush is the key to giving your complexion that flush of colour to instantly perk up your skin! While the blusher might seem like a simple tool to use, nailing that gorgeous glow can be an iffy task without the right tricks. Ahead, Beauty Insider has got you covered with the complete guide to how to apply blush like a pro.
Contents
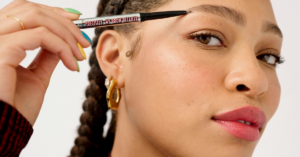
Finding for Your Skin Undertone
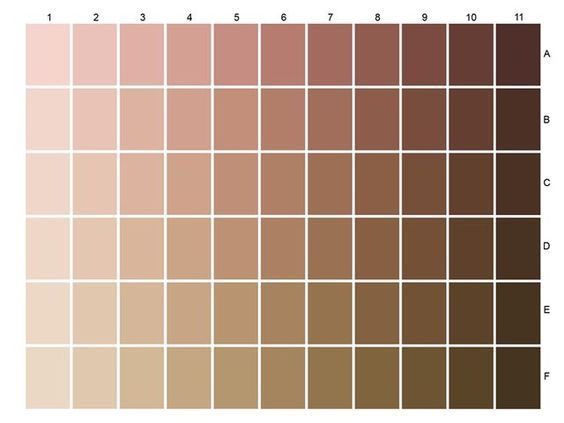
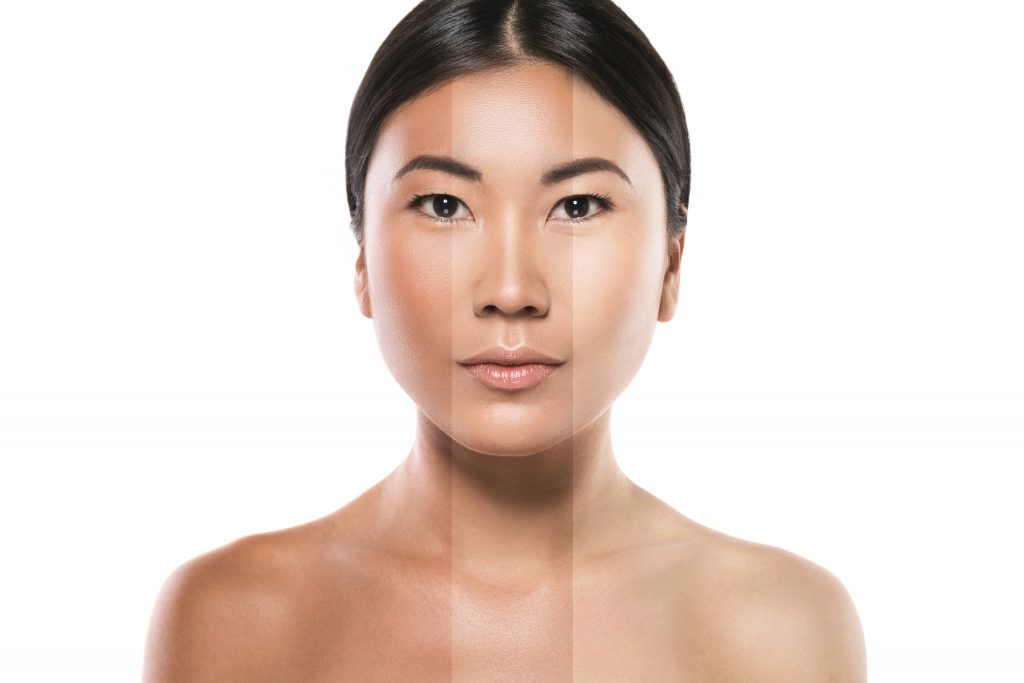
Before lathering your brush up with blusher, you might want to take a look at your skin undertones first. After all, the wrong colour may end up disappearing onto your skin or even leave you with ‘baboon-butt’ cheeks! There are three common skin undertones — Warm, Cool and Neutral , and different blush hues do not appear the same on each skin undertone. If you are having trouble in identifying your skin undertone, we have rounded up some tips to help you.
Take a Look at Your Veins
Identifying your skin undertone by looking at your veins is the oldest trick in the book, since it is the easiest and most fuss-free one. All you have to do is to take a look at the veins on the inner side of your wrist to determine your undertone!
If your veins appear to have purple or bluish tinges, you have a cool undertone. Conversely, if your veins are appear to be more on the greener side, chances are you have a warm undertone. If you cannot tell if your veins are blue or green, you have a neutral skin undertone.
Check Out Your Jewelry
For the jewelry aficionado — now’s the time to whip those gorgeous trinkets out. As a good rule of thumb, silver jewelry tends to appear more flattering on people with cool undertones, while gold jewelry looks best on people with warm undertones. If both silver and gold jewelry complement your skin tone, you have a neutral undertone.
Hold a White Piece of Paper to Your Face
Reach out for a trusty white paper and see how it contrasts with your skin tone! If your face appears yellowish next to the paper, you have a warm undertone. On the contrary, if your face appears to have rosy hues, you most probably have cool undertones. If you are having trouble identifying the the colour of your cast, chances are you have a neutral undertone.
Pay Attention to How Your Skin Reacts Under the Sun
Knowing how your skin reacts under the sun is no excuse to skip out on the sunscreen, but it does the job of helping you determine your skin undertone too! If your skin is on the tanner side but rarely burns, you may have warm undertones. On the other hand, if you are more prone to sunburns, you may have a cool undertone.
Picking Out the Right Colour for Your Skin Tone
As with any other makeup tool, finding a flattering shade to match your skin undertone can make or break your makeup look. With that, you might want to put away the usual pink hues and search for a colour that is best suited for your skin tone and undertone. Here, we have rounded up the best colours for each and every skin tone and undertone.
Fair Skin Tones
For fair-skinned beauty junkies, your best bet is to reach out for the classic pink and coral hues to add that rosy pop of colour to your cheeks.
If you have cool undertones, opt for a soft pink or rose-coloured hue to create a naturally flushed look. For the fair-skinned sister with warm undertones, go for a coral or peach shade to add a luminous touch to your skin!
Medium Skin Tones
If you have sun-kissed skin, deeper hues are perfect for creating that soft warmth of colour. Think shades like rich pink, warm mauve as well as vivid peach tones for starters. Try avoiding sheer colours as they will vanish on your skin.
Olive-skinned sisters with cool undertones should opt for warm mauve or plum colours, while those with warm undertones should go for a rich peach shade.
Dark Skin Tones
If you are one who has always shied away from vivid, bright hues, you might want to give them a second shot as they complement perfectly with dark skin tones! Colours like deep fuchsia, berry tones and tangerine hues are a great pick as they stand out against dark skin.
If you have cool undertones, rich berry tones like plum and fuchsia work well in creating that natural flush. The For those with warm undertones, tangerine colours work well in highlighting darker skin tones.
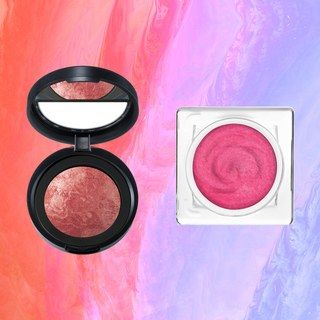
Choosing the Right Blush Formula
With the myriad of blushers out there, choosing the right blush formula can be all too confusing for the makeup novice — or even the makeup veteran for that matter! However, each blush formula works differently depending on each individual’s skin type. Here, we break down the most popular blushers to help you understand which one is the best for you.
Powder Blushers
The most common choice of blusher for makeup junkies, the powder blush has cemented its place in the beauty scene for its fuss-free use. With the help of a handy fluffy brush, a few swipes of blusher is all you need to anoint your cheeks with a healthy glow.
For people with oily skin types, you might just want to arm yourself with a powder blusher as they also work to banish oil shine thanks to its absorption powers. However, powder blushers are not ideal for people with dry skin types as they tend to accentuate any dry, flaky patches.
Nars Blush

A cult favourite powder blush, the Nars Blush has garnered a legion of fans for good reason. Available in 21 shades, this powder blush boasts a buildable formula that blends seamlessly into the skin. With a few swipes, you can count on this blush to deliver a healthy, glowing flush to your cheeks, thanks to its highly-pigmented formula.
“Beautiful blush color. If you are tan skin its a stunning color on your cheeks. Last long on your cheeks but still need to touch up after 5 hrs if you have oily skin. Little goes a long way. Worth buying even if its on a normal price range,” says one review.
$52, Sephora
Cream Cheek Blushers
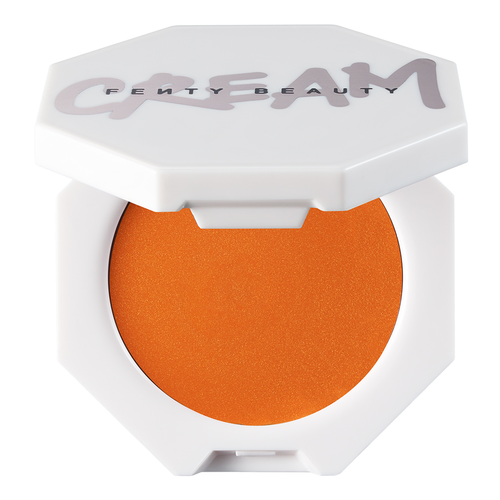
Cream cheek blushers are all the rage amongst beauty junkies, and rightfully so. With its smooth and velvety texture, they have become a fan favourite as they glide onto the skin effortlessly without tugging.
If you have always been one who is prone to parched skin, cream cheek blushers are your best friend as they glide on more easily onto patchy areas. Plus, they usually come with hydrating formulas to help add in a layer of moisture to your skin! Just remember to blend the formula out well to avoid any streaks.
3CE Creamy Cheek Stick

If you need a pop of colour on-the-go, trust the 3CE Creamy Cheek Stick to come to your rescue. Buildable and fuss-free, this cream cheek blusher leaves your skin with a full cheek of colour with just one swipe. Plus, it can also be layered on to create your desired intensity.
“Just one stroke of it on the cheeks and it blends to give a subtle healthy look to the face. Very good for quick everyday application to achieve the no makeup makeup look,” says one review.
$34, Sephora
Gel Blushers
If you are an ardent fan of the dewy look, the gel blusher might just be your new favourite makeup tool. These bad boys typically come with a water-like consistency and lightweight texture, which allows you to apply the blush with ease. Plus, a little goes a long way with gel blushers, so you can flush out your cheeks with even a tiny drop of product!
Gel blushers are a godsend for people with oily skin types as they are known to adhere well to the skin while withstanding the heat and humidity. So you do not have to worry about your blusher running throughout the day!
Pixi Sheer Cheek Gel
Looking to mimic that natural flush? Look no further than the Pixi Sheer Cheek Gel. With its highly-pigmented formula, one dab is all you need to achieve those rosy apples in an instant. Plus, its lightweight texture guarantees comfortable wear all day long.
“This gel makes your cheeks glow with what seems like a natural blush. It does not blot easily like the other cheek tint so you have ample time to spread on your cheeks. Definitely worth the price,” says one review.
$27, Sephora
Applying Blush According to Your Face Shape
Round

For people with round-shaped faces, it is best to stay away from the classic technique of apply blush to the apples of the cheeks as this can make your face appear rounder. Instead, apply your blush slightly below the apples of your cheeks before extending it towards your hairline. This technique will impart a lifted look to your face.
Oval
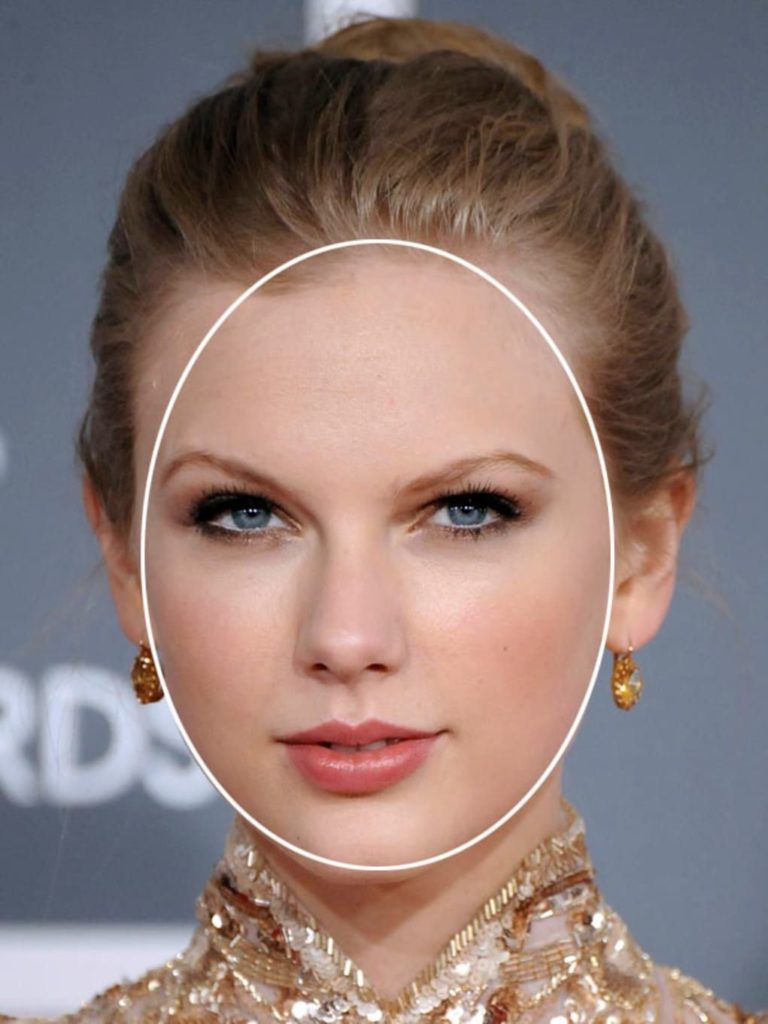
For oval-shaped faces, sweep your blush over your cheekbones and extend the colour towards your earlobes to emphasise on your cheekbones. Avoid applying the blush right under the cheekbones or directly onto the apples of your cheeks!
Long

For long-shaped faces, apply the blush right smack onto the middle of your cheeks. After that, blend outwards and dab a smidge of blusher right below the outer corners of your eyes. This will help shortern your features dramatically. Steer clear from applying blush at any area below the tip of your nose as this will draw attention to
Heart

If you have a heart-shaped face, it is time to embrace those naturally high cheekbones! To accentuate your cheekbones, start by applying the blush right below the apples of you cheek before blending it towards your hairline. Then, blend out the blush towards your temples in a C-shape motion to balance out the width of the forehead and chin.
Square
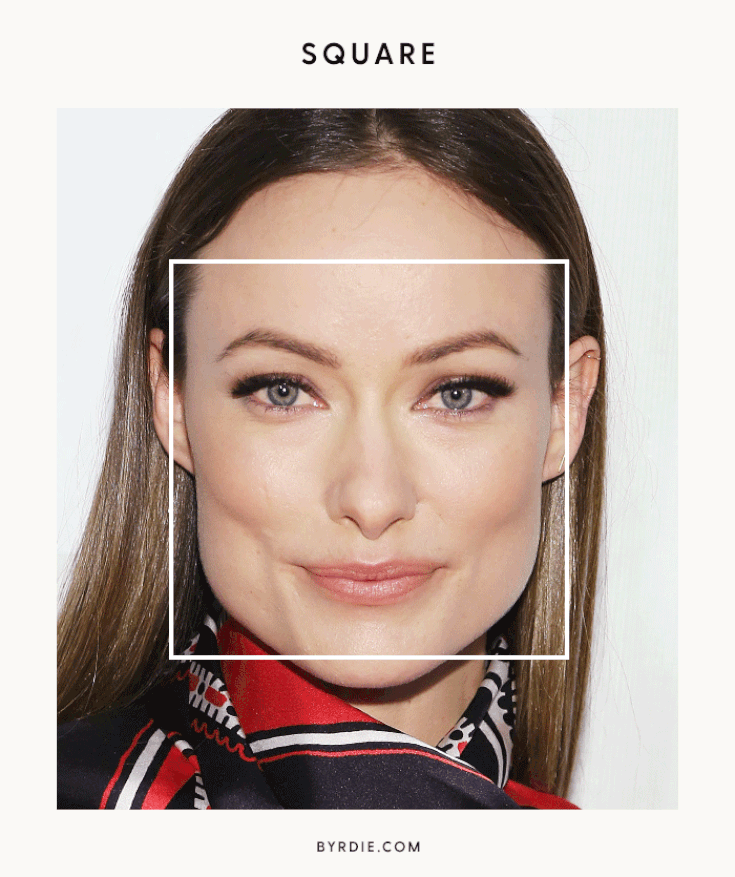
For square-shaped faces, the goal is to soften the naturally angular jawline. With that, the trick is to concentrate the blush application onto the apples of the cheek in a circular motion. Then, blend the blush outwards to create a sculpted look. Do remember not to blend too far out as this will widen your face.
Extra Tips to How to Apply Blusher
Set Your Blush with Powder
We all know the wonders of a setting powder and how it can help lock our makeup in place. Having said that, many beauty junkies tend to avoid using setting powder over blusher as it can dull out that dewy glow. If you want to maintain your rosy glow, we suggest holding a piece of tissue over your cheeks and lightly press some translucent powder over it.
Skip Out on the Shimmer
Do not get us wrong: we are fervent lovers of shimmer. Shimmer can impart a luminous glow on our cheeks, but sometimes it is best to skip out on the shimmer formulas, especially if you have dry and rough skin. This is because shimmer blushers can emphasise any dry patches. On top of that, you might want to drop that shimmer blush if you are having a pesky zit or two as it can magnify those imperfections. As an alternative, stick to matte or cream finishes.
Use A Foundation to Tame Too-Bright Blush
Too much blush is never a good look, unless you are going for the Chinese Opera look. However, you do not need to wipe off all your hard work even if you pile on too much blush!
Instead, you can dab a little bit of foundation over your blush using a wet sponge. This will help to mute down the blush without diminishing its glow.