Tips
The Ultimate Makeup Guide For Beginners 2021– From A Makeup Artist
Are you someone who likes watching makeup tutorials or going through your Instagram feed and seeing all these people with...
By: Beauty Insider Journalist / January 4, 2021
Are you someone who likes watching makeup tutorials or going through your Instagram feed and seeing all these people with flawless makeup looks? Does it make you go, “Wow, it must be nice to be good at applying makeup,”? Well, what if I told you that every one of those people with amazing makeup looks all started as beginners too? With that, here is the ultimate makeup guide that you NEED if you’re just starting out- from a makeup artist.
Makeup is simply amazing. It’s used as a way to express oneself, unleashing the creative side of you. Some of the benefits of wearing makeup are:
- It will boost your confidence to tackle your day right
- The process of applying makeup can be therapeutic, serving as your personal self-care time
- It can enhance the features you want others to focus on
- You will look more well-kept for occasions such as work, dinners with friends and events
and there are plenty of more reasons!
Many assume that makeup is an easy task but, to be honest, it’s a learning process. With every application, you improve and that’s the magic behind it. We all start as beginners with shaky hands or pressing too hard on a powder. Let’s also not forget using the wrong shades of foundations but evidently, we learn and trust the process.

Starting out makeup can be tricky but your beauty BFF, Beauty Insider, is here to show you the how-to guide of all things makeup! As beauty journalists, we all come from different backgrounds and it just so happens that I used to be a makeup artist! So, sit back, relax, and enjoy this guide and pick up a few tips and tricks along the way!
Contents
1. Skin Prep
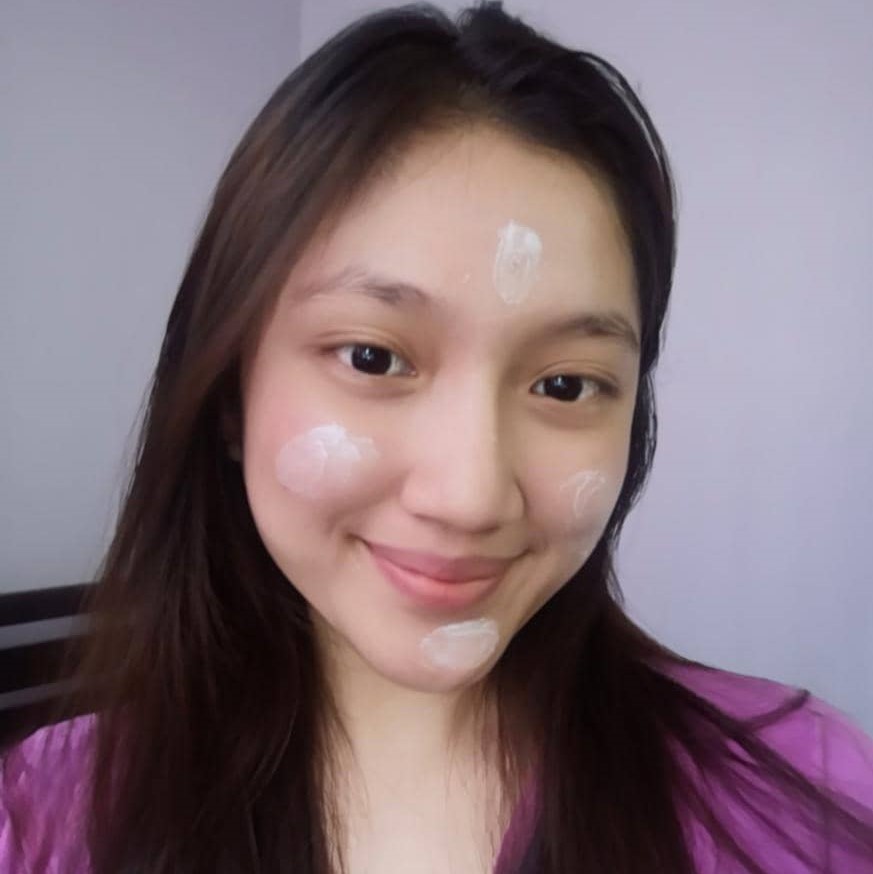
First thing in our guide that you need to do before you delve into makeup, is you need to prep your skin well. You can ask any makeup artist and they’ll say the same thing and that preparing your skin will make your makeup look better tenfold.
The way to simply explain it is to think of makeup as an art piece. Every beautiful art we see all starts from a plain blank canvas. It’s the same terminology when it comes to shining light on how important skincare is before makeup.
Furthermore, there are numerous more reasons to prioritise skin prepping. One vital point is that it will protect your skin from the makeup itself. Makeup can seep into your skin and even clog it, causing skin concerns to arise. Applying skincare will not only avoid this from happening but will also ensure your skin is cared for under your makeup.
To start, cleanse your skin well with your favourite cleanser and follow it up with your toner. This is to ensure that the rest of your skincare will penetrate deeper into your skin, making it more effective.
Remember, hydration is key! Makeup can be a little drying over time and if the surface looks a little patchy, imagine how your skin is like under it. Thus, using a hydrating serum followed by a great moisturiser. Doing this will lock-in hydration to keep your skin happy all day.
Hey, wait, don’t forget about sunscreen! Put on a good layer of broad-spectrum sunblock to protect your skin from sun damage and free radicals. By doing this, you prevent your skin from ageing too fast too!
2. Base Makeup
Foundation

If you did your skincare routine well, you can now jump to the start of your makeup routine! The first step in our guide to makeup is doing your base makeup. Besides skincare, having a good base would make a great canvas for your following products. With that, the first step is using a foundation; they come in many forms such as liquid, powder, cream or my personal favourite, cushion!
Many might ask, “What about primer?” Well, primers are great for when you are doing heavy makeup and need to have it stay in place but it’s not necessarily a must-have. Therefore, skipping primer for your everyday makeup look won’t harm it.
To start, choose your preferred foundation; a little goes a long way so start off small and build it until satisfied. Furthermore, using tools instead of just your fingers such as a foundation brush or beauty blender will help big time. Lastly, dust a light layer of powder to set it in place.
Pro-tip: If you have acne scars or textured skin, it’s best to apply your cream/liquid foundation using a beauty blender/sponge to press the product into the skin. By doing this, the foundation will spread evenly to give you a smoother finish.
Concealer
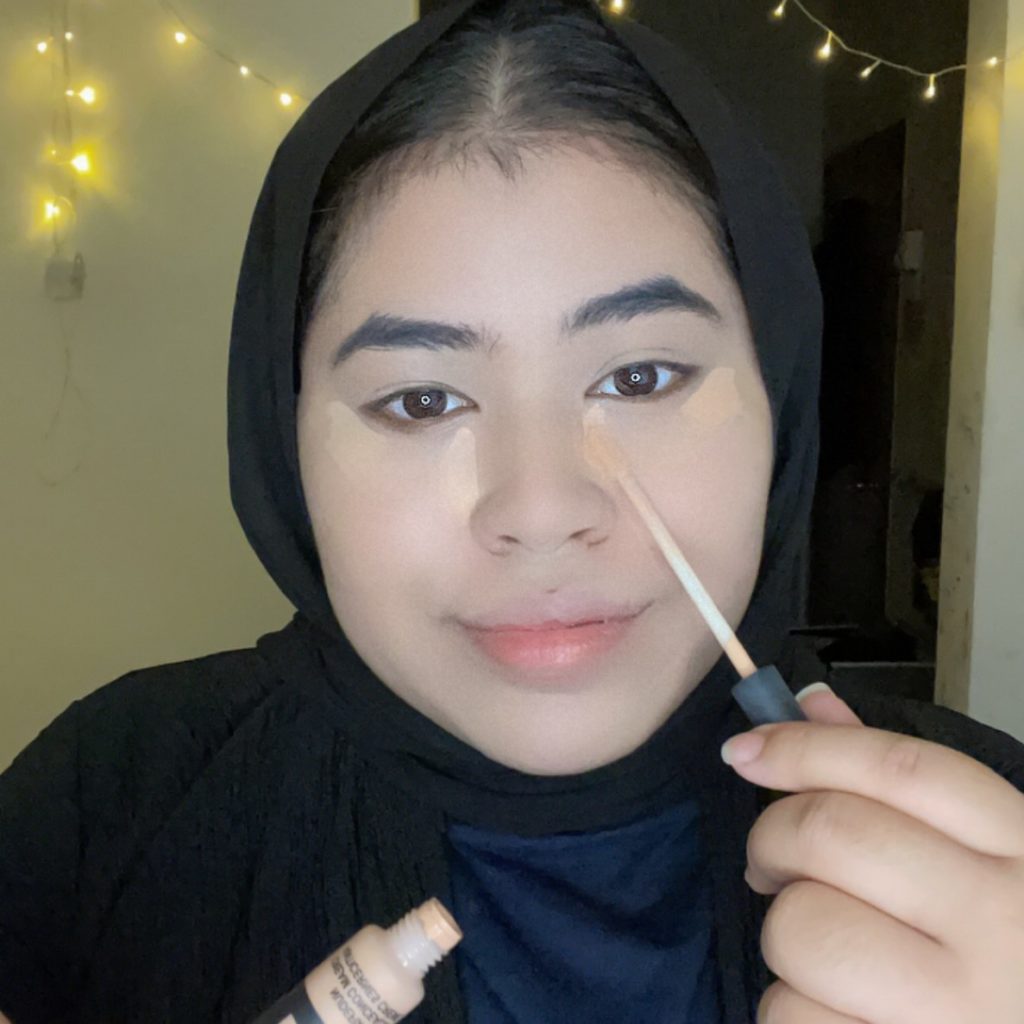
Everyone needs to use a concealer. They help to cover blemishes like spots, redness and for those with serious panda eyes. It’s a great product to use whether it’s to conceal or create definitions against your skin. Similar to foundations, they come in a variety of types such as liquid, powder and cream. It’s to experiment to see which one blends with your skin type well.
You must have seen many draw triangles when concealing in the under-eye area but Beauty Insider is here to tell you that that’s the last thing you want to do. Doing so will only put unnecessarily too much product on the area. This will then make the area more prone to caking up and end up not concealing anything at all anymore.
Instead, what you want to do is apply lightly within the space below the inner corner of your eye and just shy the side of your nose. Follow that up with applying lightly at the far corner of your eyes, just above the start of your cheekbones.
Blusher
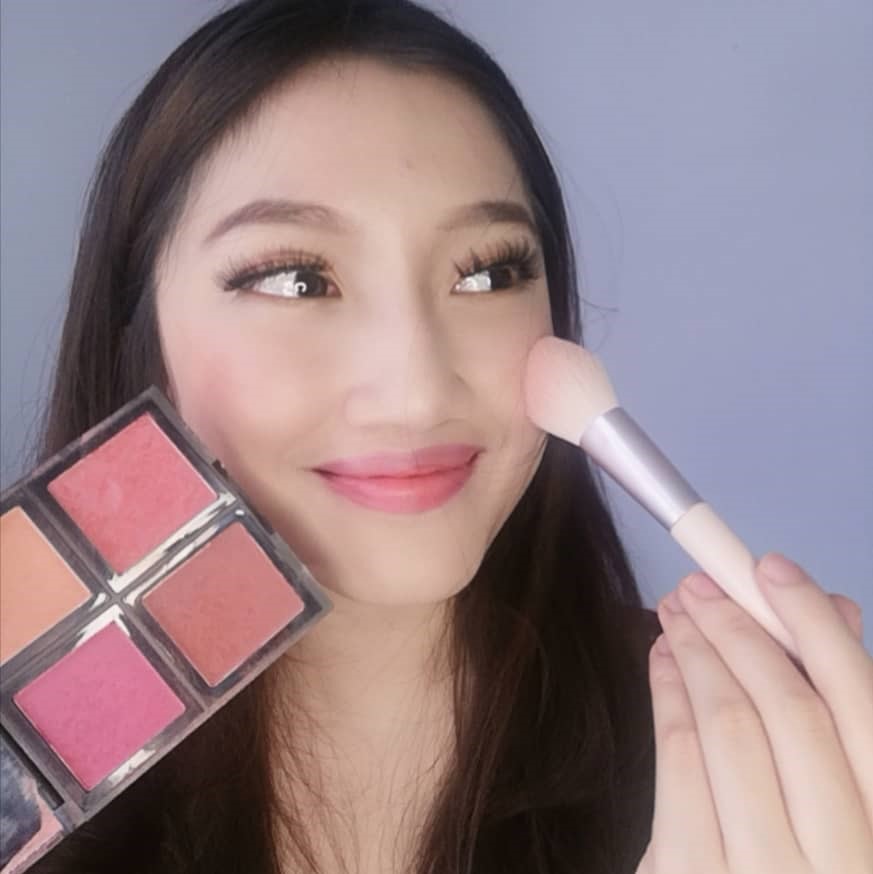
Blushers are great to give your skin a little colour. Traditional blushers are often pink and red but these days, experimenting with other colours like oranges, purples and yellow shades are starting to get popular too! It’s all according to your tastes.
To apply powder blush, pat your brush into the product and tap to shake off the excess before lightly brushing against your cheeks. If you are using a cream/liquid blush, building the intensity works best and using your ring finger should be enough.
In addition, there are two major areas to apply blush. For cheeks, start from the edge of your face before moving further closer to the apples of your cheeks. To have a lifting effect, start from your temple and move down towards the top of your cheekbones.
Pro-tip: Apply a little blusher at the tip of your nose and your chin to look more youthful and livelier.
3. Eye Makeup
Eyebrow
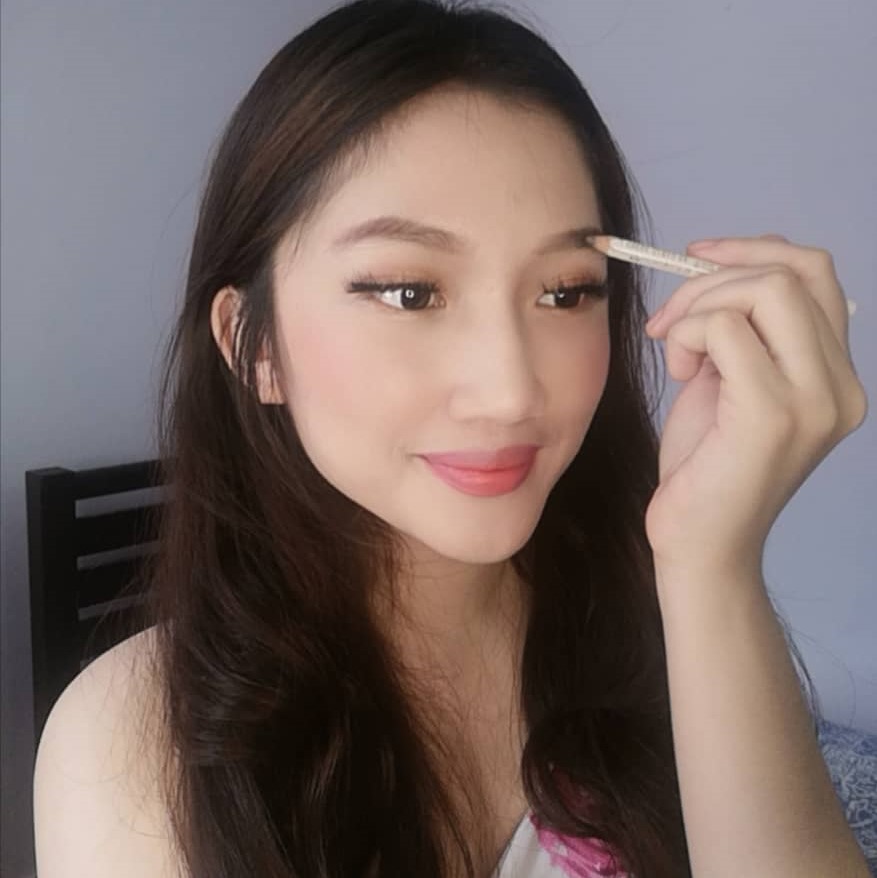
When people say eyebrows can define your look, they’re not wrong. You can either go eau de naturale or bold and confident. Despite that statement, eyebrows are also the most common step that many tend to make mistake at. These mistakes occur due to being too harsh and not blending it enough or doing a wrong shape.
If your brows are on the fuller and thicker side, you should line your brows according to your natural brow shape before lightly filling it. If you are on the finer side, then you can create your own shape which is more easier but needs a lot of practice. Finally, use a concealer on your brow bone to highlight your on fleek brows!
Eyeshadow
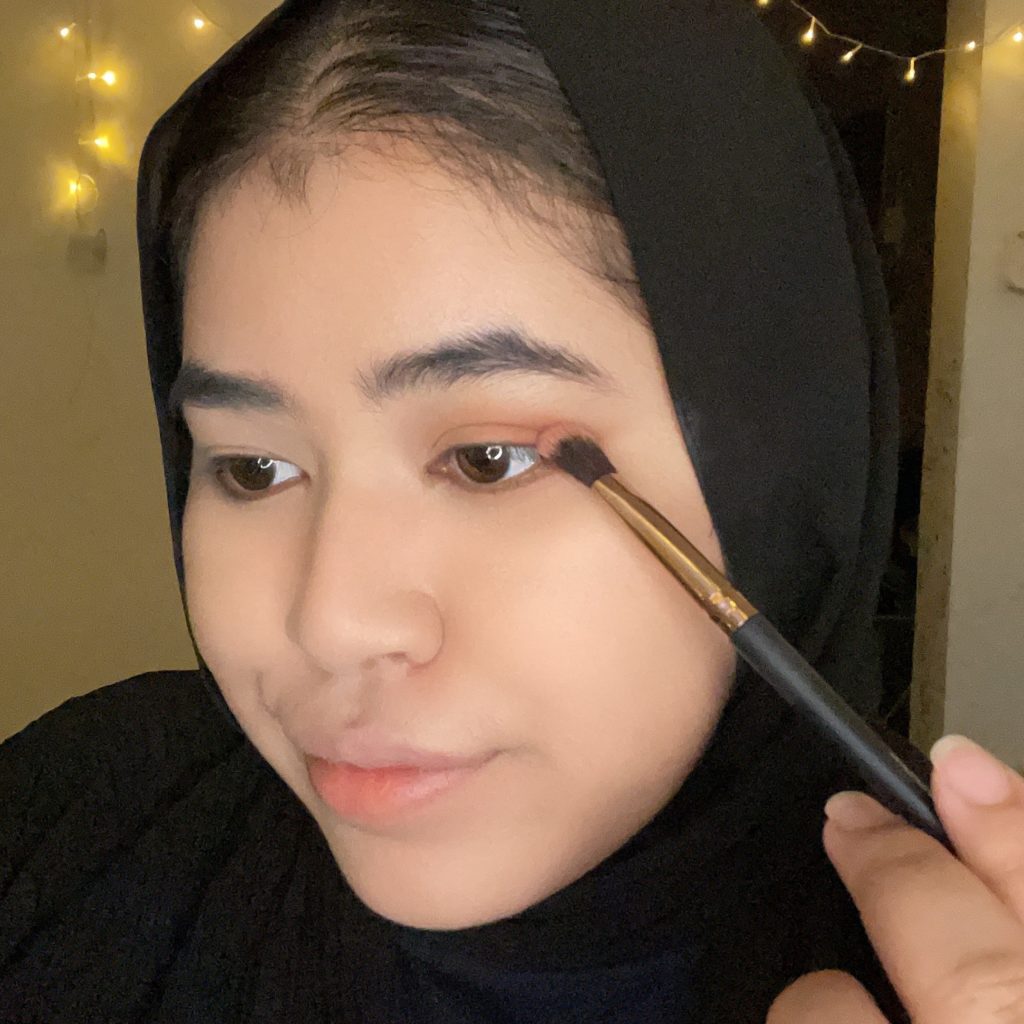
The next step in our makeup guide is eyeshadow. Follow the rules of three and you will always rock your eye makeup look. What are they? Base, crease and a touch of shimmer.
Base: These are usually light neutral colours you want to start your eye look with. You want to apply this across your whole eyelid and blend well.
Crease: This is the pop of colour that is a little deeper or darker than your base colour. This is used to define your eyes and you can apply it to half of your eyelid for a gradient effect.
Shimmer: Using a shimmer is great to give you that final touch to complete your eye makeup look. You can apply it to the inner corner of your eye or in the middle for that gentle twinkle.
Additionally, this is just the basics and when you start to experiment more, you will be able to play around with more shades and colours.
Eyeliner

Many are intimidated when it comes to eyeliner but there doesn’t need to be any worry to it. Eyeliners come in numerous forms such as liquids, gels, pencils and even powders. If one type seems too hard then you can try another as well. Start by creating a simple line following your natural eye shape. You can then start to draw a small wing at the end. With more practice, you can do more different styles with ease.
Mascara
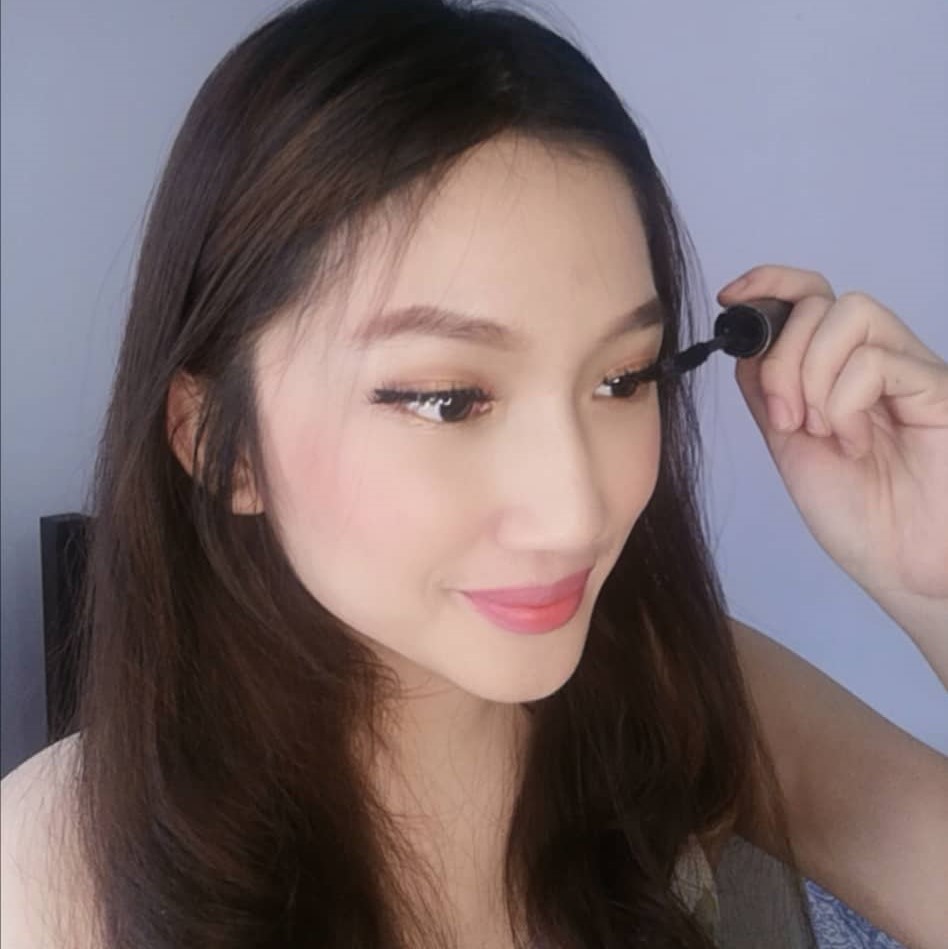
Lastly, to complete your eye makeup look, you need to use mascara. Start at the roots of your eyelashes and start combing the mascara through your lashes. Leave it for a minute to dry before adding another layer.
Pro-tip: Using an eyelash curler will help make your lashes look longer and thicker especially when you add the mascara right after.
4. Lip Makeup
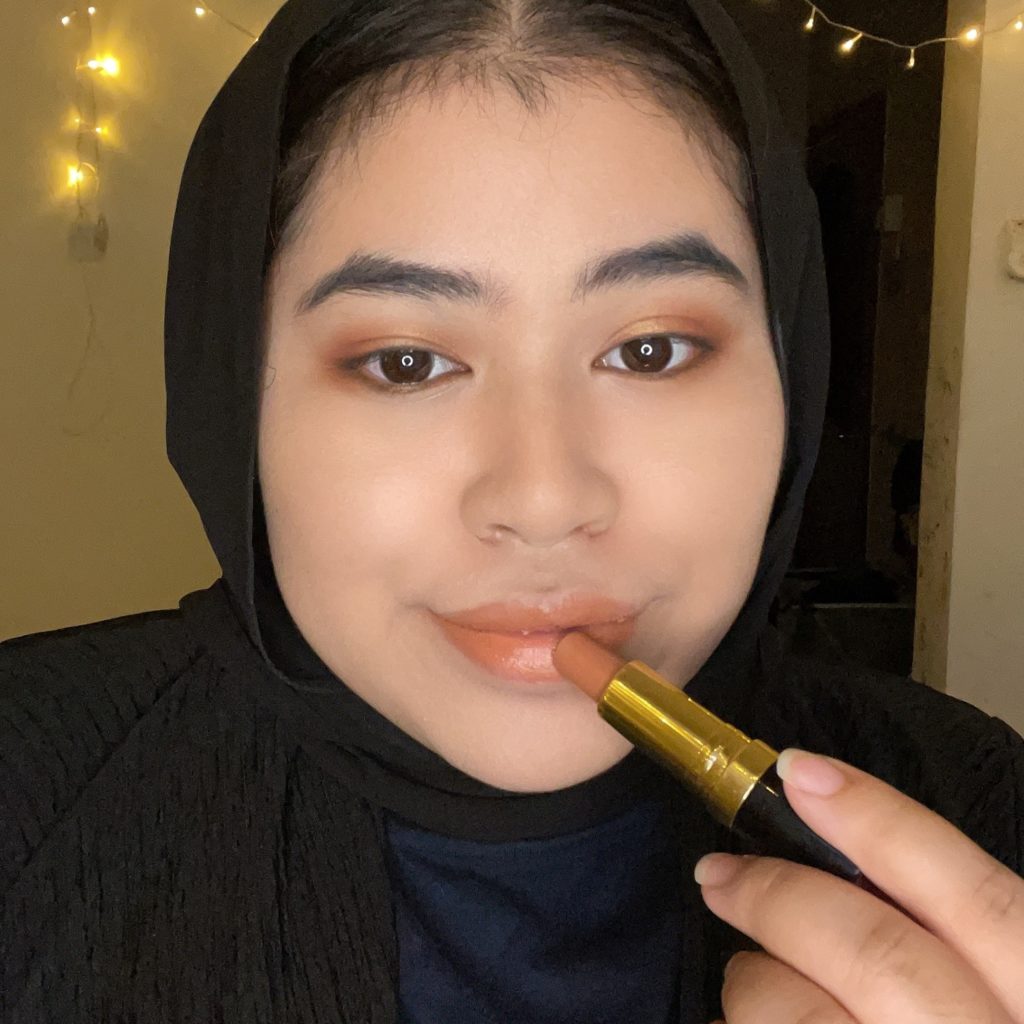
Lip makeup is probably the most fun since you can experiment with different shades and finishes. You can play around with different types such as lipsticks, liquid lipsticks, lip glosses and lip lacquers too! The finishes can range from matte to cream and even glossy. It all depends on your tastes.
Pro-tip: Using a lip liner and following the shape of your lips will help guide you for a cleaner finish. Also, when you apply lipstick, circle your lips around one finger to catch any excess lipstick stuck at the inside of your lips.
5. Setting The Look

Finally, we’ve made it to the last step of our makeup guide! Give a light dust of powder to any areas of your face that will get oily over time. Take a fluffy brush, pat it softly onto the powder and don’t forget to tap any excess product before applying to your skin. Do a light spritz of setting spray and we’re done!
Pro-tip: If you apply setting spray before your foundation and then after it and again at the end of your routine, it will lock-in your makeup all day long!
Author: Nina Shahriman | Date: 4th January 2021