Hair
How To Dye Hair at Home – The Ultimate Guide
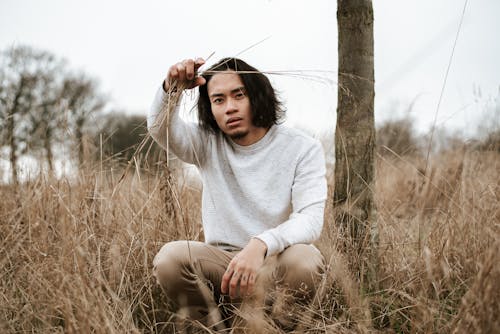
At some point in life we had all gawked at Avril Lavigne’s streak of hot pink hair and had attempted...
By: Dedet Panabi / June 7, 2021

At some point in life we had all gawked at Avril Lavigne’s streak of hot pink hair and had attempted to get our own highlights in, and some, unlike the other, might have failed terribly. Because let’s just admit it, dyeing your hair at home requires a certain level of skills and patience, but if done right, it may be one of the few things in life that would be oh-so rewarding.
So we at Beauty Insider have scoured the net for some tips and asked a few of our trustworthy friends with funky-coloured hair, to put together this ultimate guide for you on how to dye your hair at home, without causing permanent damage to your hair or your house.
Dyeing Your Hair – Before You Start
1) Get Your Tools
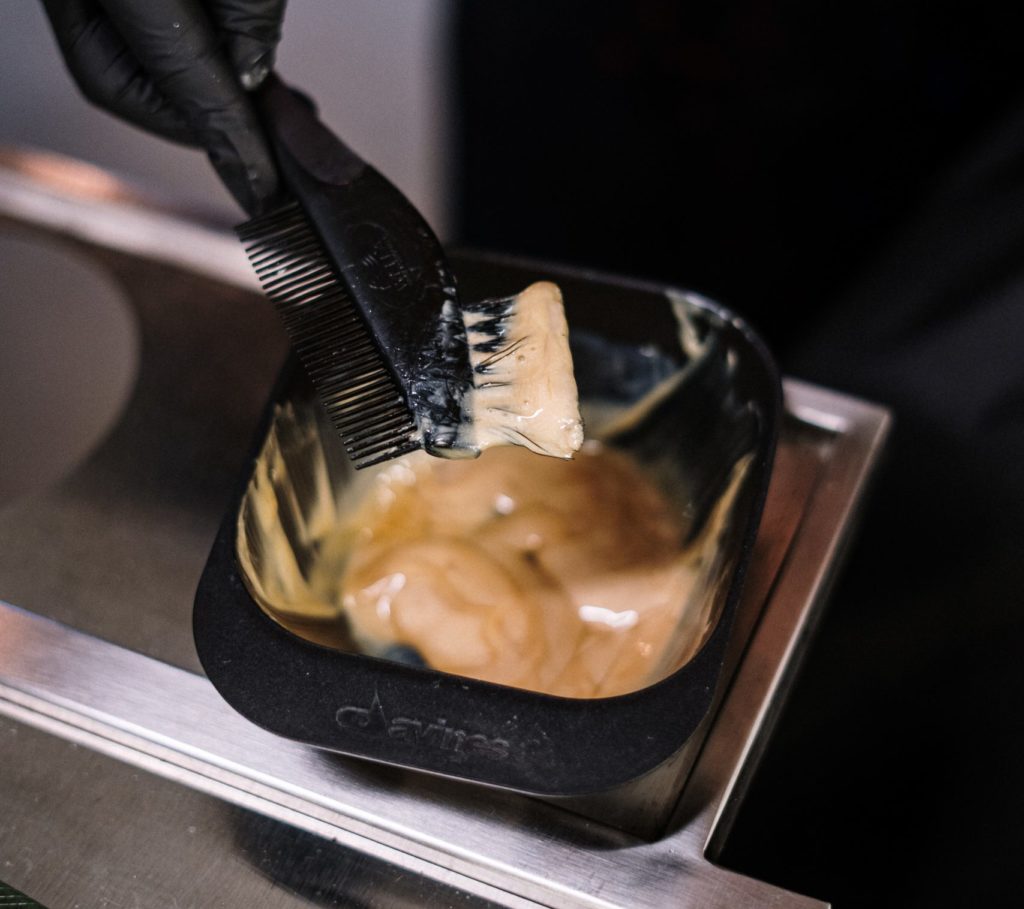
Before you start dyeing your hair, you need to prepare everything you need. So, what exactly do you need? Well, first of all, pick your colour. Once you know what colour you want, make sure you purchase enough hair dye to colour your hair. More is definitely better than having less hair dye on your hands. After that, get a mixing bowl and colour brush. These little tools can be found either online or at your local drugstore! Now, you don’t want the colour staining your hands and body right? So, get some gloves and apron, or old clothes you’re happy to get messy. Next, get a shower cap to help process your hair quicker after you’ve put on the dye. Lastly, you need to have at least 2 mirrors with you if you are doing this alone. If you aren’t, then all you need is a friend to help!
2) Always do a Patch Test
We cannot stress enough how important it is to perform a patch test before you dive into your hair colouring mission! Even if you have never ever had an allergic reaction before, it is vital that you complete this step, because we are all aware of the fact that hair dyes contain a significant amount of chemicals and the last thing you want is to have your scalp burning or worse, have your hair fall out. Just take a small drop of dye and apply it on the inside of your wrist, and 48 hours later if your skin fails to show any reactions, then you can begin your hair dyeing session!
3) Do Your Paperwork

Dyeing your hair can get messy, trust us, we know. So just lay down a bunch of papers on the floor -if you are colouring your hair in your room -which we would definitely not recommend, but if there are no other options then feel free to do so. You could also spread some plastic bags on your room or bathroom floor so your spilt dye does not seep through. Apart from having your ‘hair-dyeing zone’ completely covered up, it also pays to ensure that you wash the dye off of your hair in a basin, or a bathtub, without flipping your hair like you are in the middle of a rock concert. This is especially important if you are going crazy with your hair colour -dye your hair red and your bathroom’s bound to look like a massacre just took place in there.
4) Cover Yourself When Colouring Your Hair
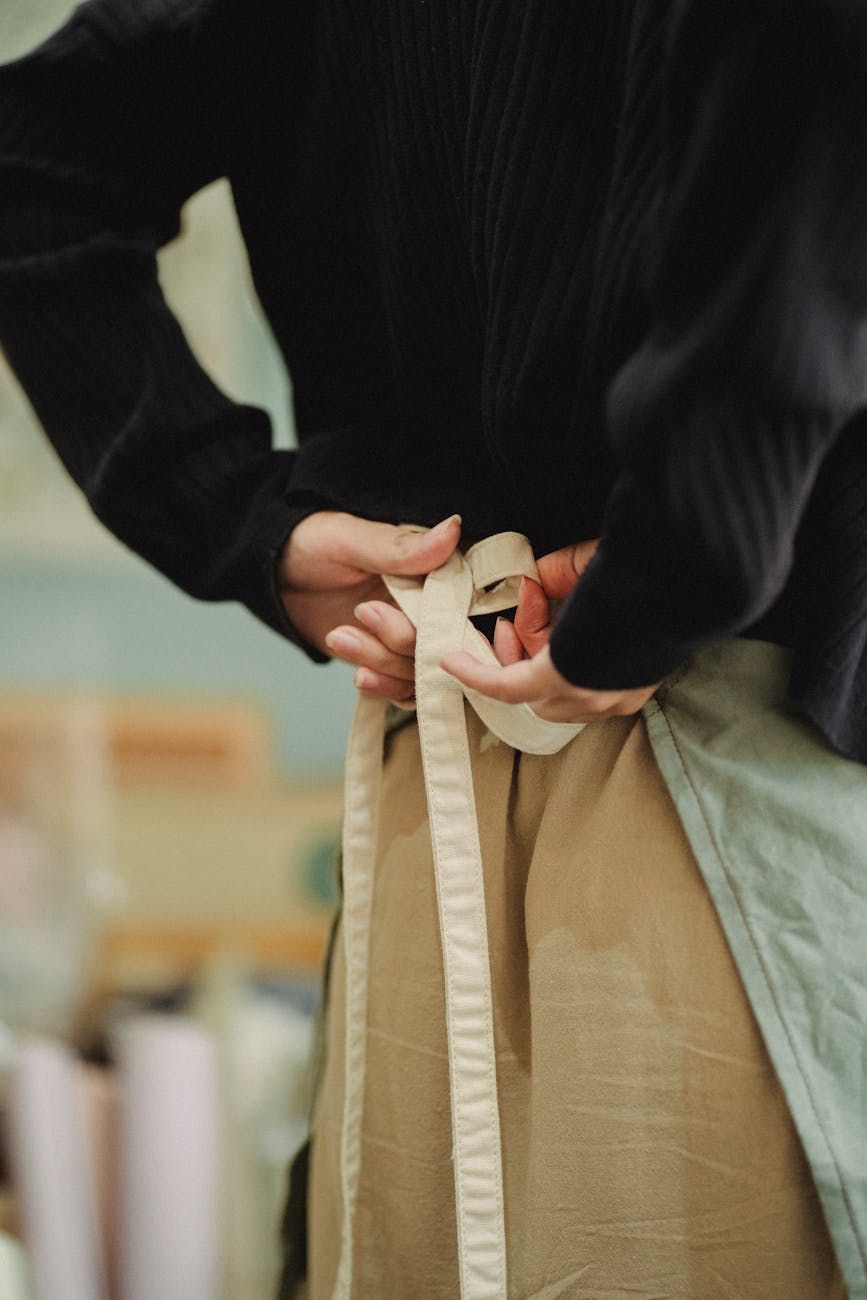
Hair dyes stain. After all, they are penetrating each one of your hair strands and coating it with a completely different colour. So that means that dyes can easily leave a stain on your skin too, and you definitely would not want to have your neck, ears and shoulders matching your hair tone. So as a precaution, we would suggest that you apply vaseline or even coconut oil around these areas to prevent staining. And do remember to put on an ugly shirt, or one that you wouldn’t mind getting dye all over. For extra protection, you could always cut some holes in a garbage bag and put it on, over your t-shirt when you dye your hair.
5) Wash Your Hair 24-48 Hours Before Dyeing
When using non-vegan dyes to colour your hair at home, it is recommended that you wash your hair no later than 24 hours prior to dyeing your hair. This is to ensure that you do not get rid of the natural oils that not only protect your scalp from the chemical in hair dyes but also allow your hair strands to absorb the dye even better. But that does not mean that you should have your hair unwashed for a week before applying the colour because if your hair is too greasy then your dye will most probably be uneven and your hair will definitely end up looking blotchy.
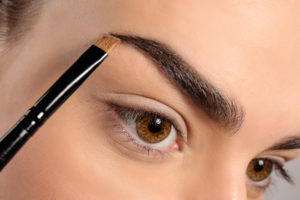
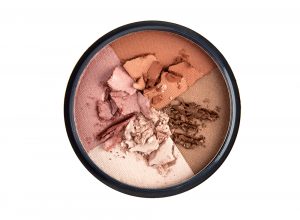
6) Picking the Right Colour

If you are picky about achieving the right shade for your hair, always perform a strand test to see how the colour turns out on your hair. Of course, if you are looking to bleach your hair prior to dyeing it, then test the dye only after you have stripped your hair of its natural colour. However, for more subtle tones like brown and red, bleaching may not be necessary and you can definitely try out organic options like Naturalite. Also, remember to always grab an extra box if you are unsure of how much dye you need. You most certainly do not want to run out of dye halfway through colouring your hair.
Dyeing Your Hair
1) What Hair Dye Should You Use
When it comes to box dyes, there is quite a bit of choice available in the market, depending on the shade and type of hair dye that you are looking for, but one of our absolute favourites is DixmondSG. Whether you are looking to go wild with a teal transformation, or perhaps stay on the subtle side with shades of ash brown, they have got it all. In addition to that, DixmondSG’s range of hair dyes are organic so you don’t have to worry too much about damaging your hair. Also, be sure to read the instructions on their website before you proceed to colour your hair, and if you have any additional questions then feel free to text them on WhatsApp at +65 8868 5252 for some advice or professional opinion!
2) Section and Where to Start
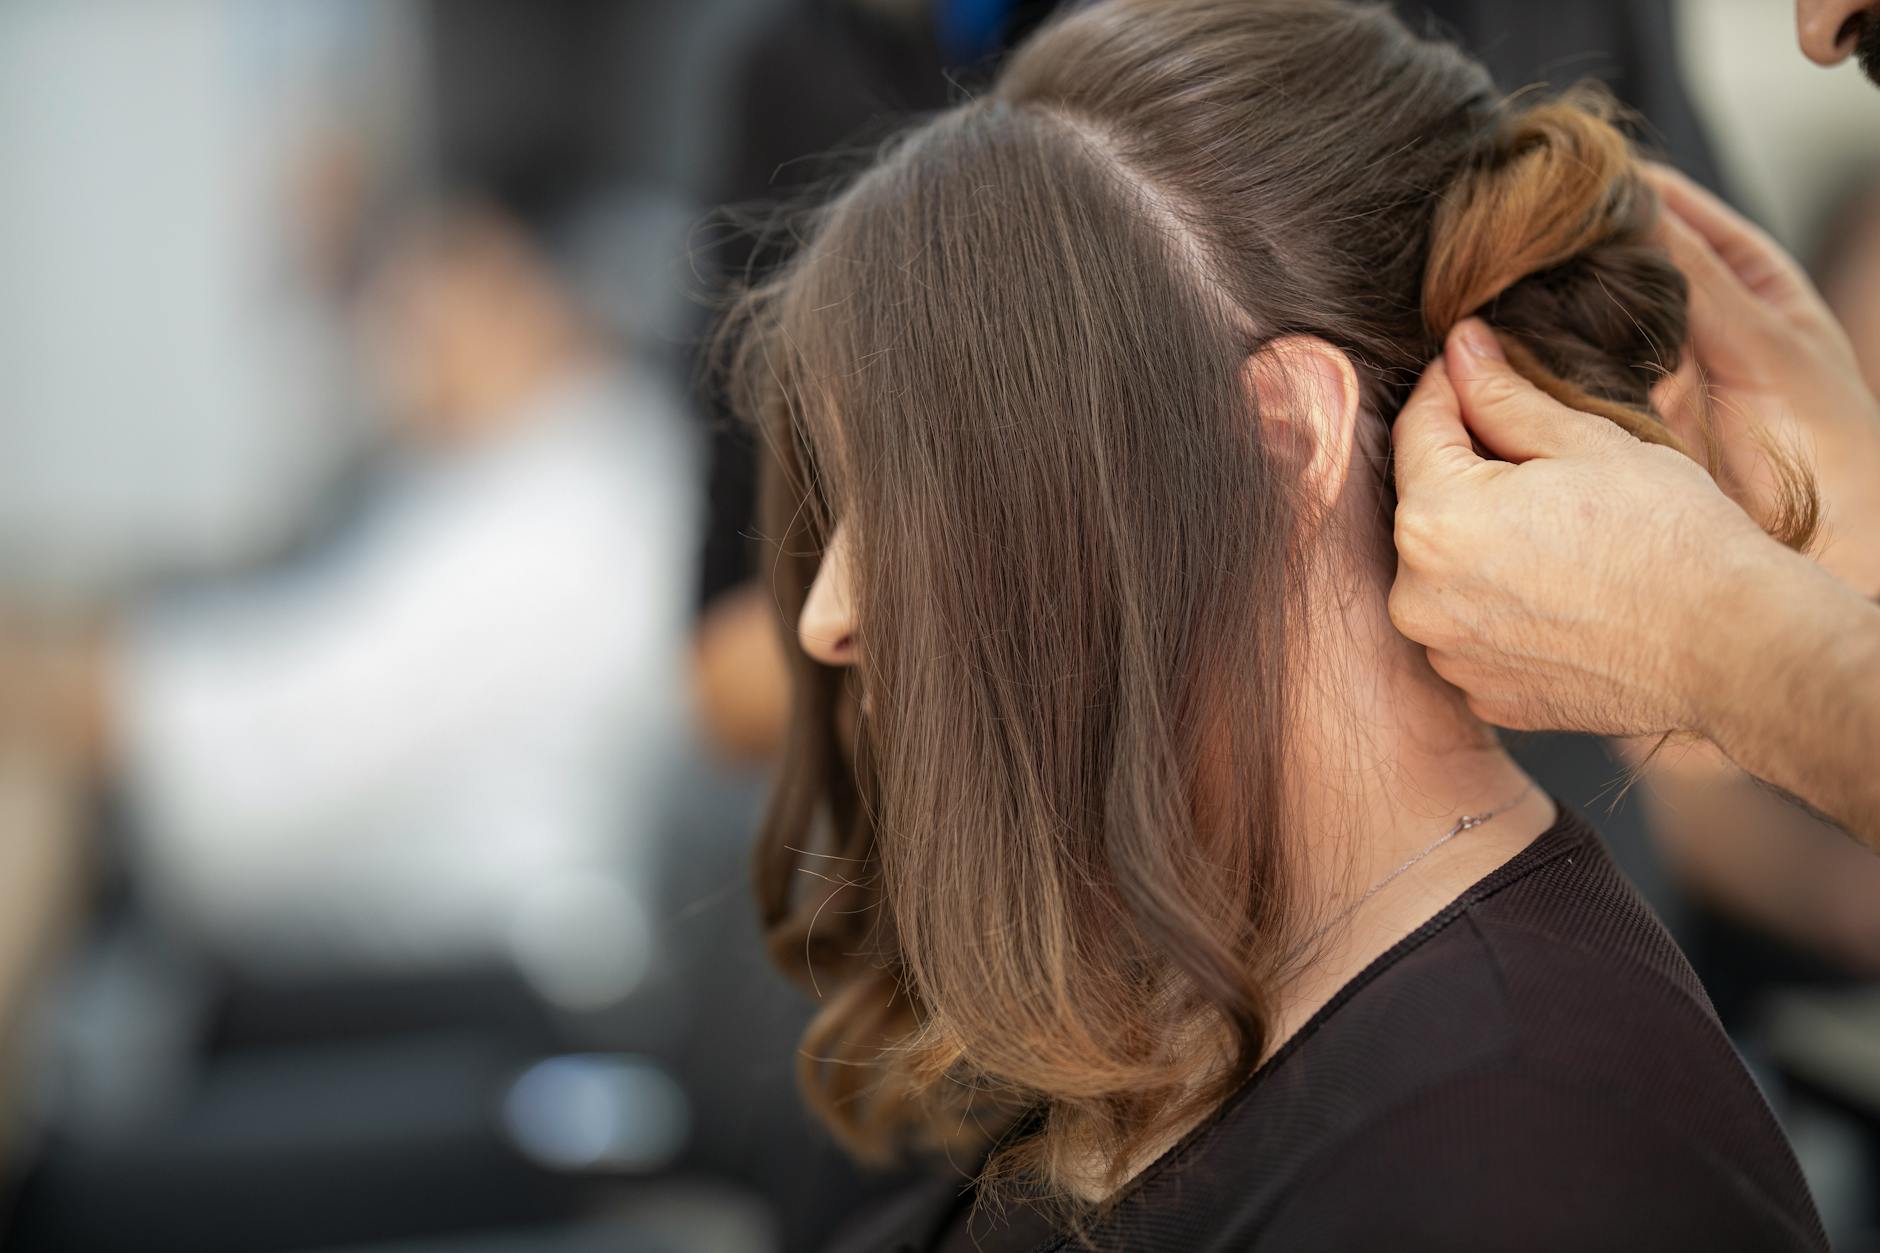
Sectioning off your hair gives you much better control over where you apply your dye. Instead of randomly rubbing it into your hair and missing a whole chunk, sectioning can help ensure you get every strand of hair. You’ll want to section your hair into four parts. First, section from the highest part of your scalp and go straight down the back of your heck. Your second section should start right behind your ears, and go across to the other side of your ear. Now, you have four sections, front, back, left and right. If you’re bleaching your hair, start from the ends and do your roots last. If you’re just applying colour, you can start at the roots first. If you bleach your roots before the rest of your hair, then get ready for some super bright roots.
3) Bleaching Your Hair
Some things are better left to the professionals, and this would definitely be one such thing. While simply dyeing your hair does not drastically change your hair texture, bleaching sure does; obviously, because it strips your natural hair of its colour pigments. But having said that, with the right product and instructions, it can be pulled off quite well. DiXmondSG’s hair bleach, for instance, is non-damaging, and their hairstylists have provided a step-by-step guide on how to bleach your hair based on your intended colour, so you can attempt to do so without forsaking the health of your hair.
Let us take a second to dive deeper into this particular subject of bleaching your hair. While most box hair dyes come together with a developer bottle and require no prior bleaching, the shades of these colours usually lean more towards natural tones. Hence if you want a funky colour for your hair, then you are left with no choice but to take the plunge and bleach your hair. But fret not, for here are a couple of tips that would be very much crucial in your journey -if you choose to take it.
Before you begin bleaching your hair, it is important to ensure that your hair is in good condition, and has not undergone any heat or chemical treatments in the last few months. Apart from that, stripping your hair of its natural colour will definitely take a toll on the health of your hair, and if you have dark virgin hair, then under no circumstances should you attempt to lighten it in one single session. If you do so, chances are, you will over-process your hair, which might lead to breakage.
Last but not least, never bleach newly washed hair because like we mentioned before, washing your hair strips away the natural oils from your scalp, and unlike hair dyes, bleach can severely irritate the scalp with no sebum to protect it.
4) Colour on Dry Hair
You want to dye your hair on dry hair. This allows your hair to take in all the colour that you are going to smother onto it. If your hair is wet, the colour might not absorb as well into your hair and give you murky results. Most probably, your hair will come out with tons of patches if you dye it while it’s wet. Although, you can always wash your hair at least 2 days before colouring your hair. Why? Because your hair needs its natural nutrients to protect it from the chemicals of hair dye and bleach. If you wash your hair right before you dye your hair, chances are your hair will come out more damaged. Especially if you’re thinking of bleaching your hair. DO NOT wash your hair right before.
5) Go Pro
Instead of applying the dye straight from the bottle like most amateurs, we would recommend that you attempt to colour your hair like professionals, to prevent uneven application or wastage of dye. When dyeing your hair at home, start off by sectioning your hair into small parts, then proceed to pour the dye into a bowl and apply it to your hair using an application brush -which you could easily get from DixmondSG or even supermarkets. You might also want to wrap your hair in a shower cap, if you are moving around the house, to prevent leaving a colourful trail with every step.
6) Mirrors
It is important that you have eyes at the back of your head when colouring your hair, because how awkward would it be to have completely missed out on a chunk of hair, which is probably the last thing that you need. So stand in front of a mirror and place another one behind you, and voila! Another tip would be to use a handheld mirror when colouring your hair at home if you can’t find a bigger one, although that could be a tad bit more difficult to work with.
The After-Care
1) Keep Your Hair Away from H20
If you are looking to have your hair colour looking good as new for as long as possible then you should most definitely wait at least 72 hours before washing your hair. According to Eva Scrivo, a New York City hairstylist, that’s how long it takes for your cuticles to completely close around the colour molecule, hence, preventing the hair colour from fading too fast. Now when we say H20, it includes the ocean and swimming pools too, but if you must take a dip after 3 days, then simply apply coconut oil all over your hair, and tuck it in a shower cap. Because you most definitely do not want to have your dye bleed out, a couple of days after dyeing your hair.
2) Use Dry Shampoo
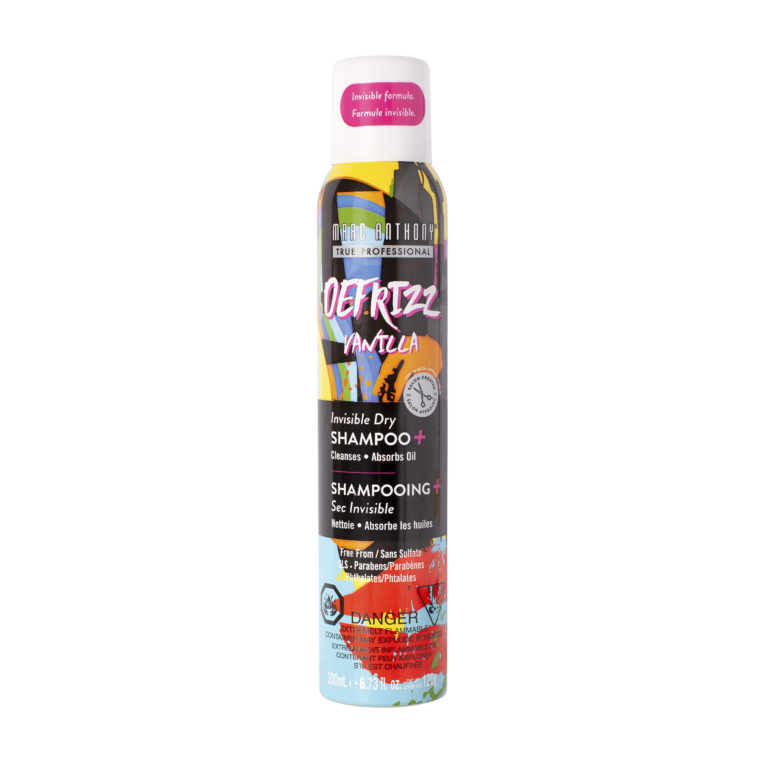
Since you won’t be shampooing your hair too often, your hair can get greasy. A solution is to get a dry shampoo! This is a lifesaver even for those with oily scalps. Dry shampoo can be a substitute for when you don’t wash your hair. There are several different types, so you can choose one that helps bring volume back into your hair, or one that smells like flowers! Dry shampoos also come in mini versions, so you can bring it with you on the go. Allowing you to touch up whenever you want throughout the day.
3) Invest in -Good- Hair Products
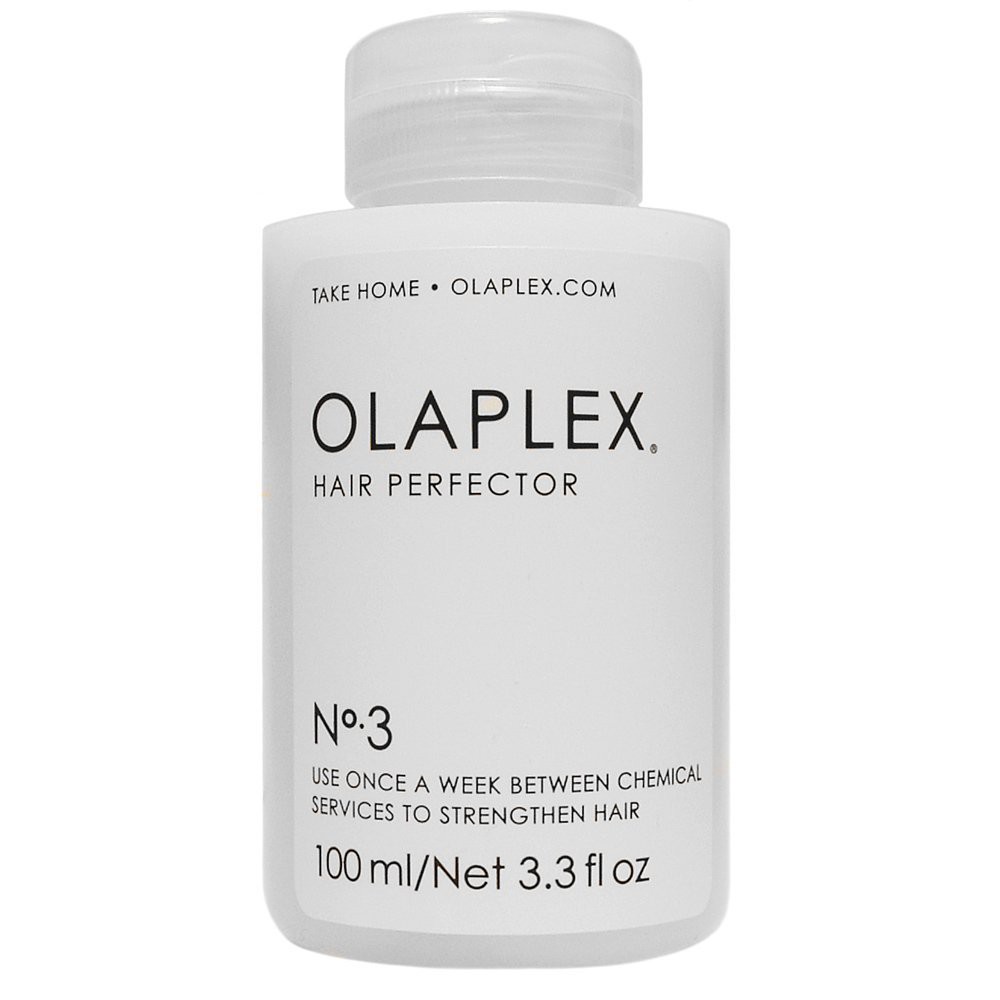
Dyeing your hair at home is a commitment that you should be willing to take. After all, you are putting your hair through a tough ordeal, so it is up to you to ensure that you give it all the care that it needs. The rule of thumb for shampooing dyed hair is strictly using products tailored to coloured hair, or non-sulphate shampoos which can be easily purchased at drugstores. Always remember to condition your hair, and apply hair treatment products like the Olaplex No.3 at least once a week to help hydrate and restore your hair, and to give your newly dyed hair a healthier and glossier appearance.
4) Condition Your Hair

No matter if you’ve bleached your hair or not, you should use conditioner on your hair. This is because your hair is most probably damaged and can dry out very easily. Therefore, using a conditioner can help bring back moisture into your hair. If you can’t help but want to wash your hair, sometimes you can skip shampooing completely! Just rinse your hair with water and apply conditioner to your hair. This can help clean your hair and prevent the colour from fading too quickly.
5) Use A Glaze

Once a week, you can also apply a hair gloss treatment to your hair. Doing this once a week can help revitalise the colour of your hair. You can even opt for shampoos and conditioners that deposit colour. Most have a range of colours you can choose from and are low in pigment. So, it acts like a topcoat for your hair. Thus, you can extend the life of your coloured hair and achieve healthy-looking hair too!
6) Prevent Fading
Obviously, your hair dye is going to be fading over time, but there are a couple of things that you can practice to prevent your colour from fading too fast. Avoid going under the sun too much, because overexposure to UV rays is not only harmful to your skin but it is pretty damaging to dyed hair too. But if you can’t avoid it, then throw on a hat before you go out. Another hack is to always wash your hair with cold water. Hot water opens up your cuticles, causing the colour molecules to seep out easily, so try and avoid it as much as you can.