Makeup
The Tried and Tested Makeup Routine for Dry Skin
Everyone has their own tailored makeup routine. That would be depending on their skin type, texture, concern and what products...
By: / March 25, 2020
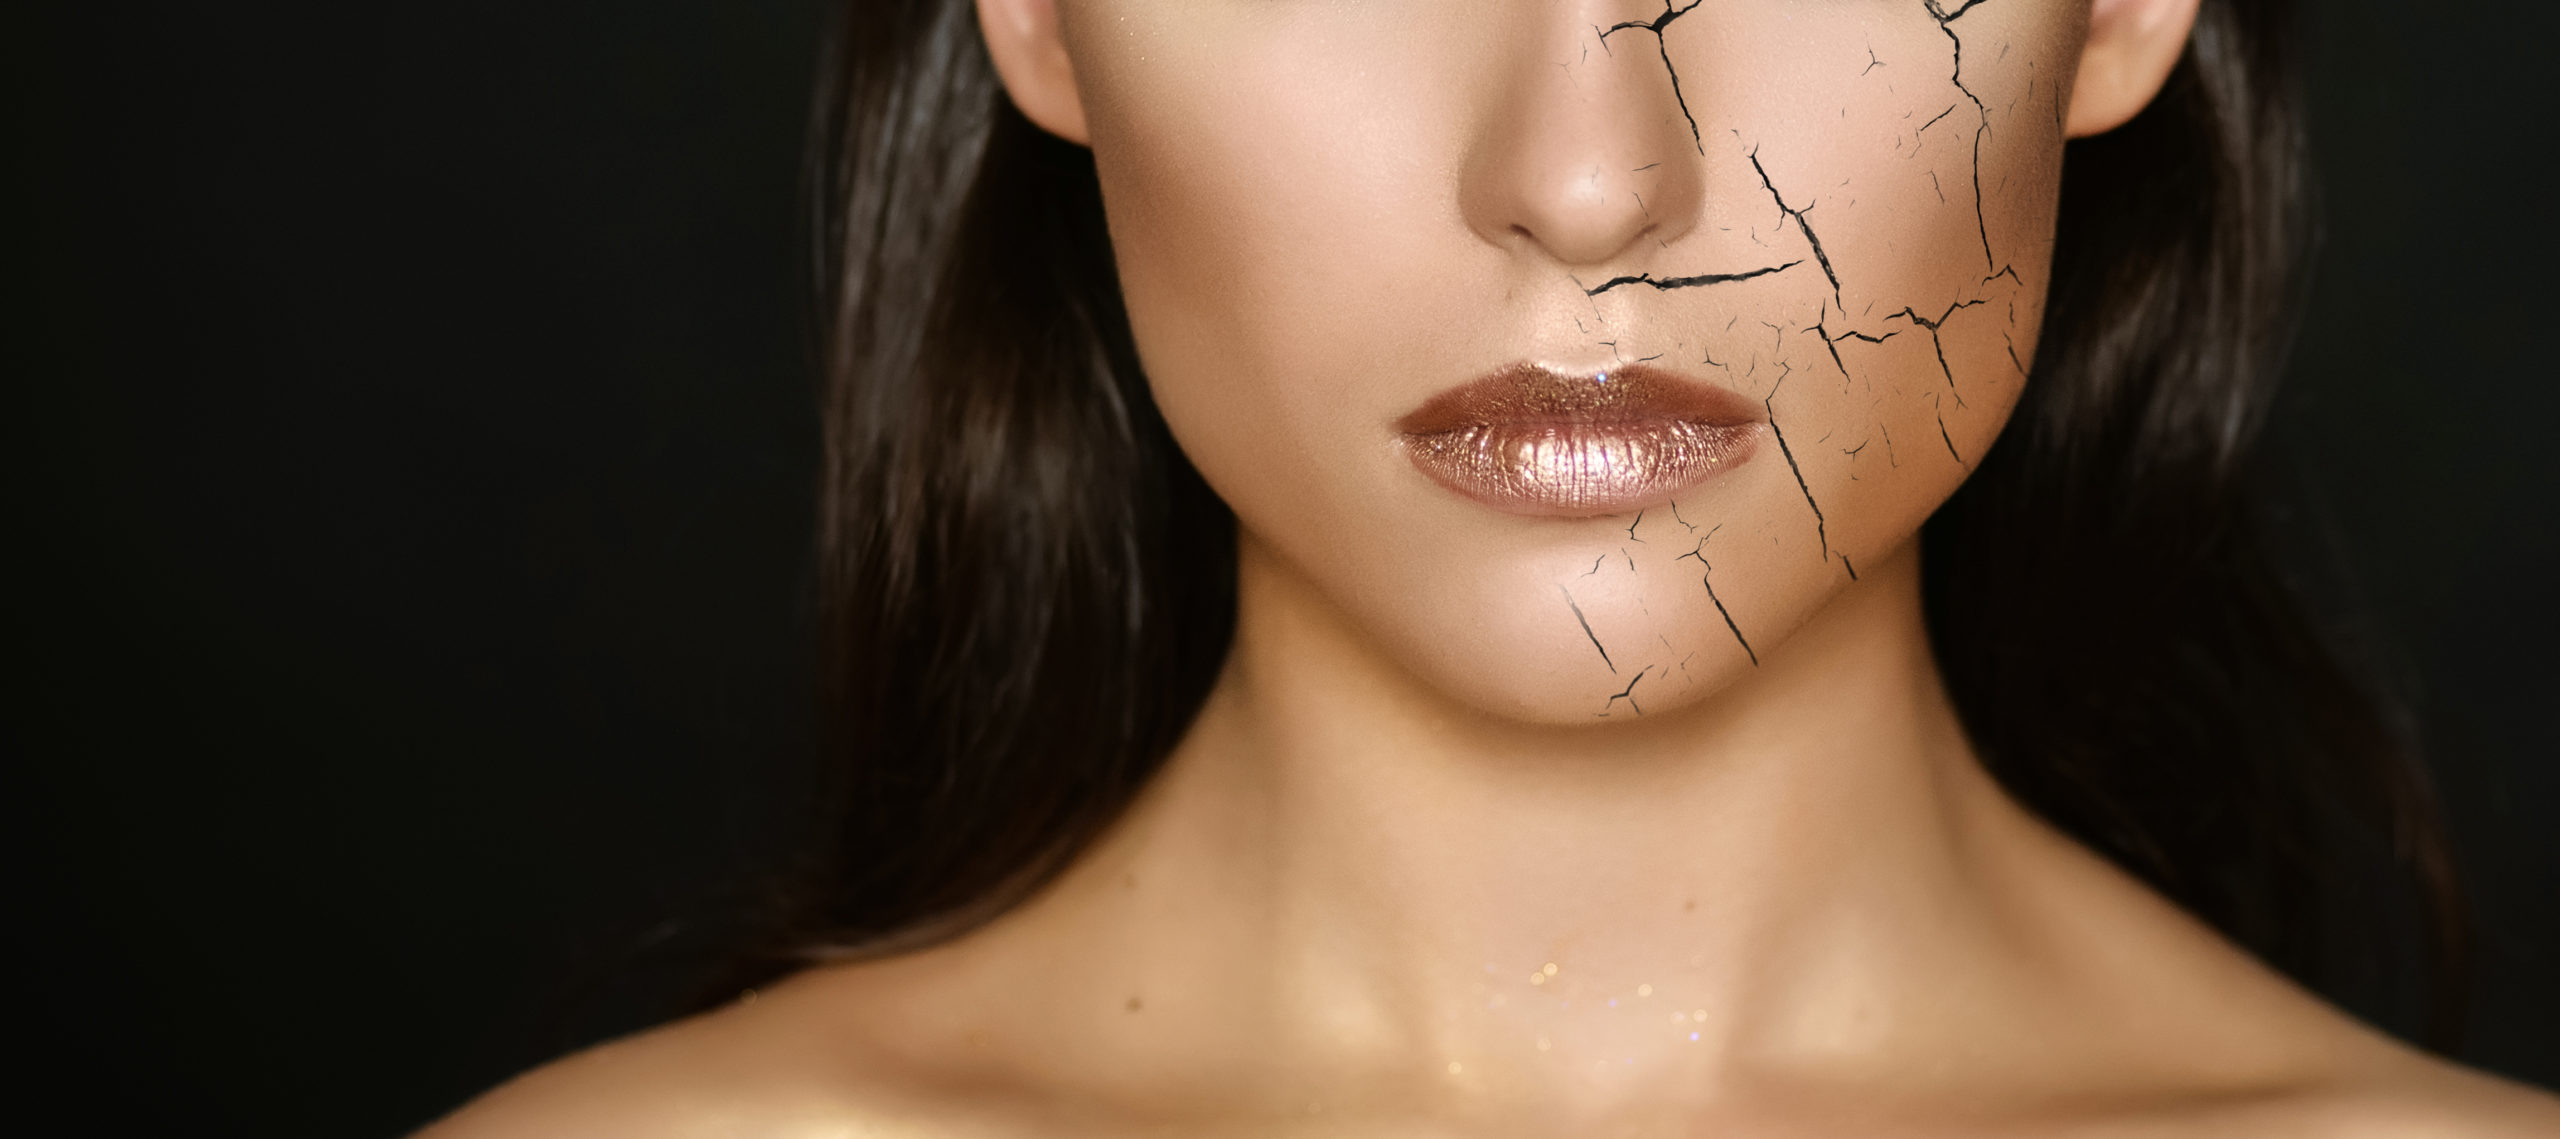
Everyone has their own tailored makeup routine. That would be depending on their skin type, texture, concern and what products they would want to use first. Today, Beauty Insider gives you a recommended makeup routine for those of you who have dry skin.

Contents
Step 1: Eye Primer
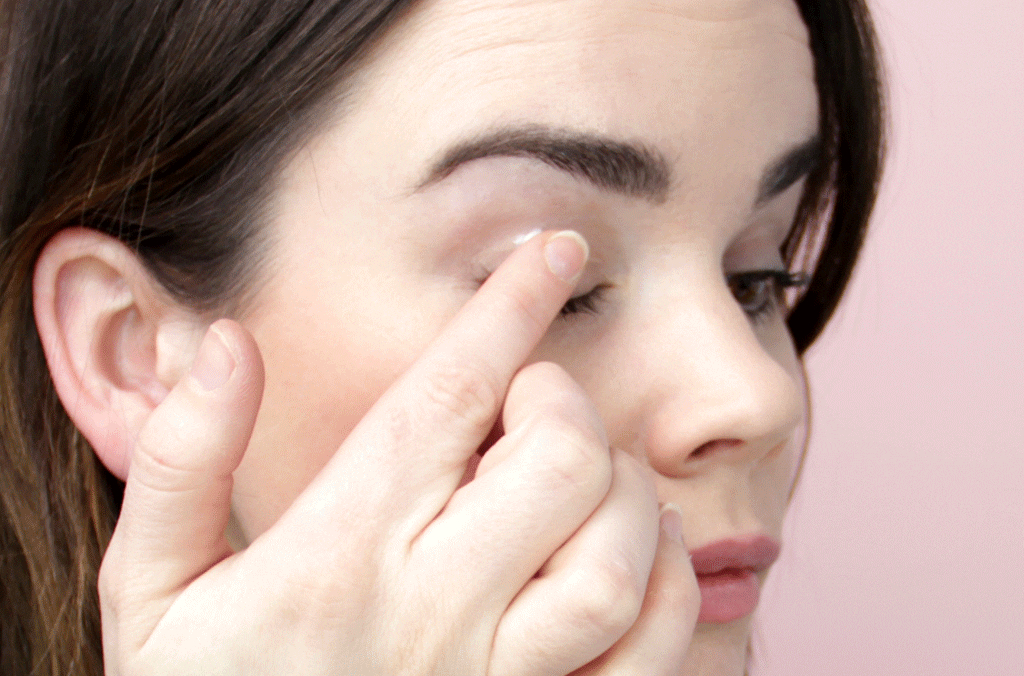
Apply your eye primer first as it helps the eyeshadow and eyeliner glide and applies on much smoother. Using an eye primer also eases the process blending the eye makeup. Not only that but, as an eyelid is tinted, it gives your eyelid a much more uniform colour. In addition to that, if your eyelids are dry, they would appear red or irritated. Hence, the eye primer moisturises your eyelids without making it oily.
Step 2: Eyeshadow
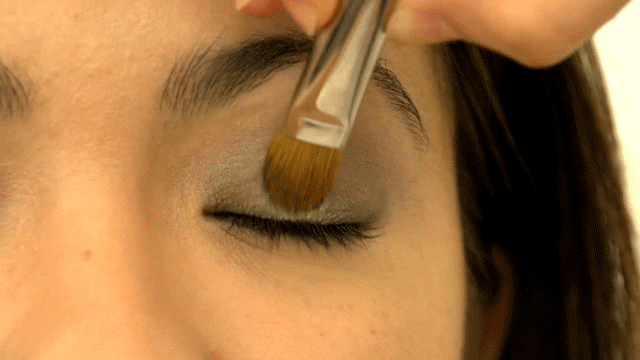
With your eyes primed, you can now apply your eye makeup as you would usually do. You could go natural or all out. You will notice, with your eyes primed with an eye primer, it is much easier to blend out your eyeshadow.
Step 3: Eyeliner
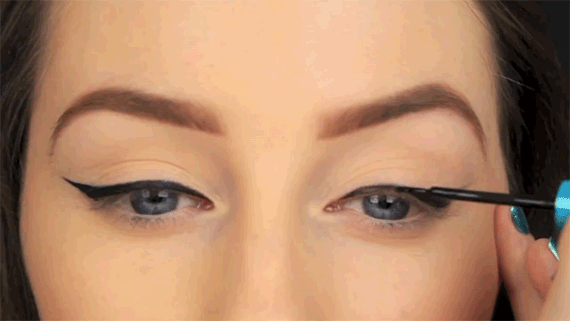
For your upper lid, use a liquid liner, as it creates smooth, swooping lines with a precise look. First, start in the middle and move out towards the outer edge of your lash line. Then, fill in the gaps by lining the inner edge of your lash line and connect the line. Then create a small wing at the end towards the outer lid.
For your lower lid, use a pencil liner and line your lower lash lid from the outer corner of your eyelid towards the centre. If you want to achieve a bigger eye look, then only draw your eyeliner till the middle.
Step 4: Eyebrow
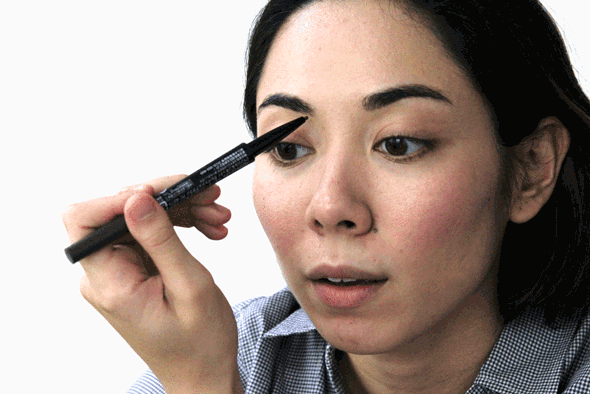
First, brush your eyebrow hair in an upward direction. Then, you can either use an eyebrow pencil or an eyebrow powder kit to draw and fill in your brows. Always remember to keep your eyebrows 1 or 2 shades lighter than your hair if you have dark hair, like brown or black hair. If you have blonde or light hair, use 1 or 2 shades darker for your eyebrows.
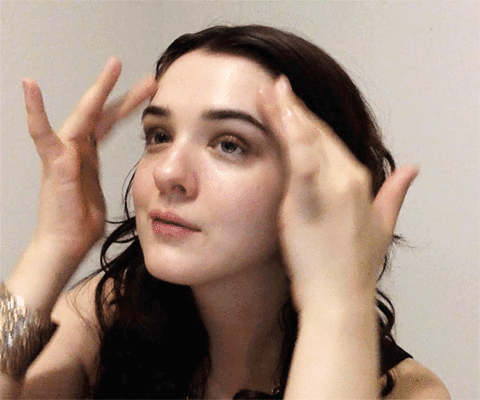
Step 5: Moisturizer

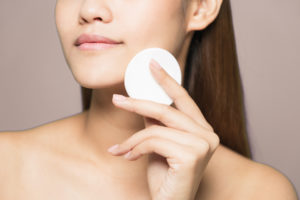
After washing your face, apply a moisturizer to your skin, focusing on the driest areas of your face. For most, the area around the nose and the space between the eyebrows tend to be the driest areas. For those with dry skin, use an extra-hydrating moisturiser and apply enough so that it gets absorbed by the skin.
Step 6: Primer
Apply a face primer after your moisturiser. A primer is a sheer and gel-like base that goes onto your skin before you apply your makeup. Especially if you have dry skin, a primer is essential as it gives your skin a much smoother base. This is so your makeup can be applied without getting stuck to the dry patches of your skin. Ultimately, it is important not to apply too much of primer as well.
Step 7: Liquid Foundation
Choosing the right foundation for dry skin is important. This is because foundations for dry skins are packed with more moisture than normal foundations that are meant for oily and normal skin. For dry skin, it is usually recommended to use a liquid foundation.
To apply, dab a small amount of liquid foundation onto your finger or directly onto your face. Then use a foundation brush or beauty blender to blend the foundation into your skin. Repeat this until you reach the desired results, but avoid your under-eye area and your eyelids.
Step 8: Concealer
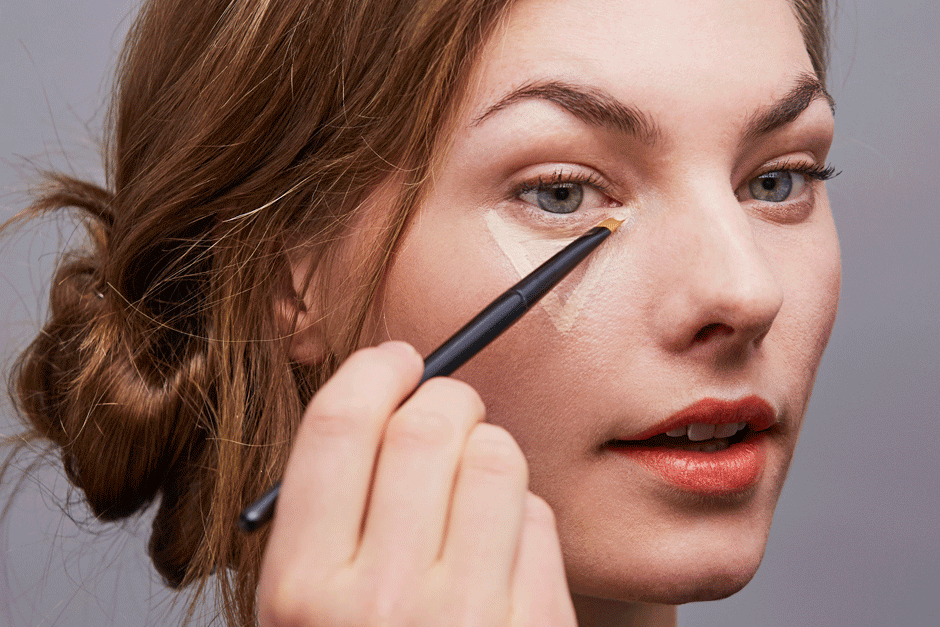
To apply concealer on dry skin, use a liquid or cream concealer onto your undereye area and any other areas on the face where you need more coverage to conceal blemishes or dark spots. Apply your concealer the way you applied your liquid foundation, in a series of small pats. You can either use a concealer brush or beauty blender to reach all the areas of the eye.
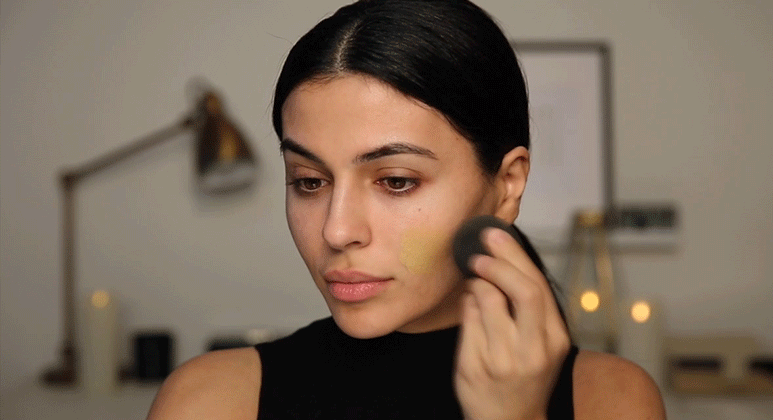
Step 9: Contour
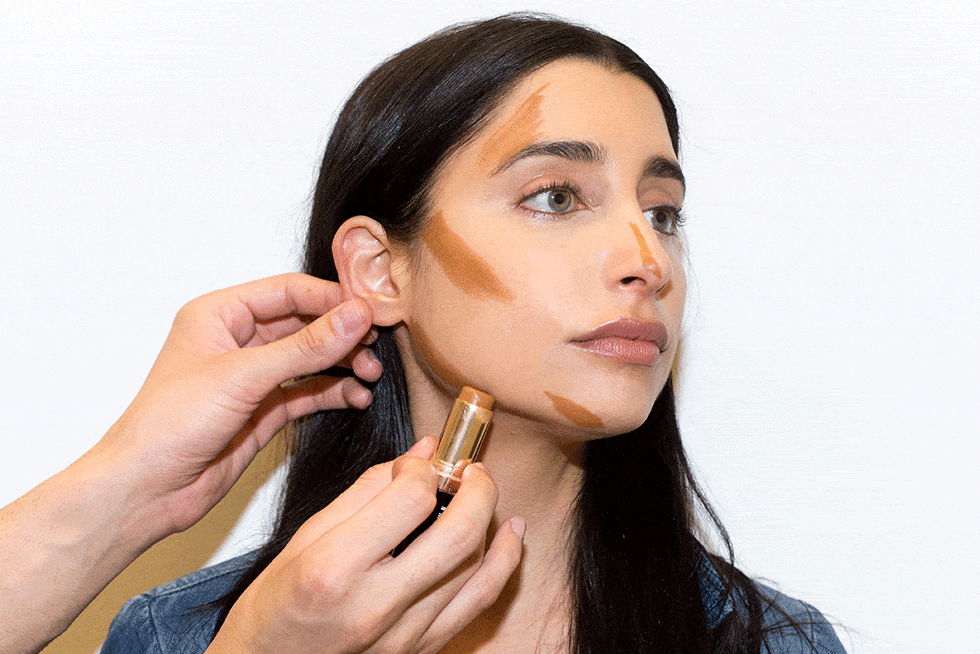
Contouring your face helps define your features by creating the appearance of higher cheekbones and slimmer nose and chin. The shade of your contour should be a few shades darker than your skin. This will shade the parts of your face that you want to draw attention away from. Use a brush or a beauty blender to blend the contour on your skin evenly.
Step 10: Blush
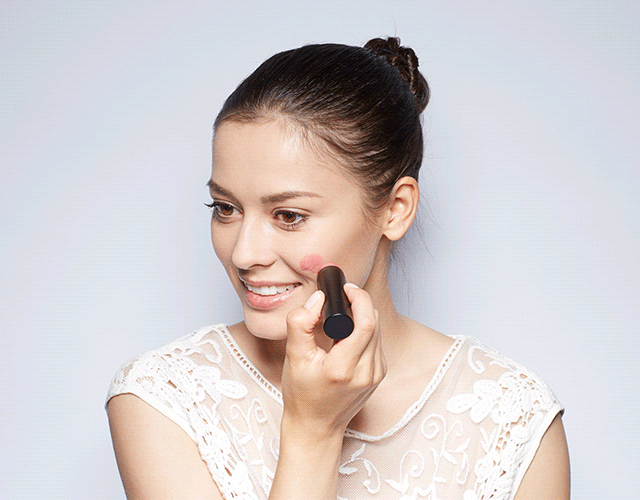
For dry skin, either use a liquid or cream blush on your cheeks. These blush textures not only goes on smooth but most importantly, they last longer and are more resistant to heat on hot days. To apply, dab a few dots on your cheekbones and blend it out with a blush brush, beauty blender or your finger in patting motions.
Step 11: Highlighter

Apply highlighter for a dewy look if you have dry skin. Use a liquid highlighter to give your skin a fresh and dewy look. To apply, dab a drop on top of each cheekbone and pat it in using your finger in an upward motion. Also, if you want to opt for a powder highlight, that works well too
Step 12: Lipstick

Before applying your lipstick, apply a thin coat of chapstick first. Wait for a moment for it to sink in then apply your lipsticks. When you have dry skin, it’s best to avoid matte lipsticks or long-lasting lipsticks as they have super drying effects. However, if you have no choice, you could always dab some Vaseline or chapstick onto your lips first, then apply your matte lipstick.
Step 13: Setting Spray

For the final step, use a setting spray as opposed to powder to set your makeup. Hold the spray 1 feet away from your face and spray it till it covers all the parts of your face. Not only that, using a setting spray would give your skin more moisture compared to setting powder, which would absorb precious moisture.