Back To Basics Guide For Beginners In Makeup: Asian VS Western
Having trouble finding the right makeup look for yourself? Are you a beginner looking to get started on your makeup...
By: Cherelle Lim / March 18, 2021
Having trouble finding the right makeup look for yourself? Are you a beginner looking to get started on your makeup journey? Look no further as Beauty Insider is here to help! We are bringing you back to the very basics of makeup. For all the rookies out there, we feel you! Been there, done that! We’ve all been a rookie looking through heaps of makeup guides, tutorials and youtube videos trying to learn. Spicing things up with a little East meets West, here’s an easy tutorial on how to do your makeup.
Contents
- The Difference Between Asian and Western Makeup
- 1. The Face
- 2. The Eyebrows
- 3. The Eyes
- 4. The Cheeks
- 5. The Lips
- How to Put on Makeup
- 1. Prepping Your Skin
- 2. Applying Foundation/Concealer
- 3. Setting Your Undereyes
- 4. Draw Your Eyebrows
- 5. Time For the Eyes
- 6. Blusher Time
- 7. Contouring and Highlighting
- 8. Pouting Lips
The Difference Between Asian and Western Makeup
For those of you who don’t already know, there is quite a big difference between how Westerners do their makeup, and how Asians do their makeup. While Asians love going for an innocent look, Westerners love going bold. The main differences you’ll notice is how they do their eyebrows, eyes and lips. Western makeup trends also tend to change more often compared to Asian makeup trends. If you look at how Americans do their makeup, you’ll also notice that they are more experimental with different looks. From the squiggly eyebrow trend from 2017 to faux freckles that are still quite popular on TikTok!
1. The Face
Whenever you look up Asian makeup tutorials, their foundation colour is usually one or two shades lighter than their skin tone. Asian makeup aims to create a youthful look by having pale skin using a lightweight foundation. It also has helps brighten up our complexion. Because of that, Asians tend to look after their skin diligently even before applying makeup. When the glass skin trend started gaining popularity, many were clamouring to know the secret to achieve it! Glass skin essentially means that your skin is crystal clear and looks poreless. Having dewy soft skin is exactly what we Asians want to appear younger and fresher!
Western makeup tutorials, however, usually use foundation colours that are either similar to their skin tone, or darker. This is because Westerners tend to go for a more tanned look. Using matte foundations, they opt for a more professional look. Often using a setting powder to mattify areas of the face that become oily or greasy quickly. Some, even use setting sprays to help their makeup stay in place longer to prevent caking! Right off the bat, we can already see the differences in how Asians and Westerners do their makeup.
2. The Eyebrows
Moving on to our face-framing feature, it’s time for the eyebrows! This is very obvious because the first thing you think of when we ask, what is the difference between Asian and Western makeup? The eyebrows! While Asian makeup trends have consistently drawn eyebrows that are straight and rectangular, Western makeup trends always have arched and defined eyebrows. Depending on how much you arch or shade them, it can affect the resting expression on your face. Do you look mad, surprised or sad?
To create a look that is innocent and youthful, Koreans, Japanese and Chinese draw their eyebrows in a straight line. No curves, no arches. Just one straight line. Fairly simple right? Furthermore, this eyebrow look softens your features and in my opinion, can even help make you look kinder! Shoutout to all our gals or guys who have an RBF, the way you draw your eyebrows definitely changes your look completely!
For a more defined eyebrow look, look no further than the west. Having your eyebrows “On Fleek”, is the best compliment you can get. From ombre eyebrows to natural looks, Western makeup has gone through so many eyebrow trends. Recently, we are reverting to a more natural look. With most people showing off their thick natural brows, there are several ways you can style it! Trending on TikTok in 2020 was the “soap brow” technique. Instead of using a brow gel, many used soap instead! For those who have naturally thick brows, this technique can help get your eyebrows #OnFleek!
3. The Eyes
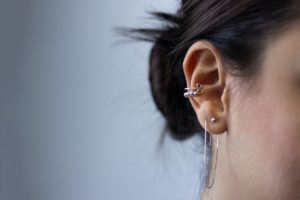
The contrast between how Asians do their eye makeup and how Westerners do their makeup is mainly the colours. Asians put on eye makeup with a more natural colour palette. Sticking to pinks and oranges that brightens the eyes. Most Asians also have mono eyelids and to solve this problem, double eyelid tapes or glue comes to the rescue! For eyeliner wise, Asians also tend to draw them downwards and short. This gives off a more innocent look.
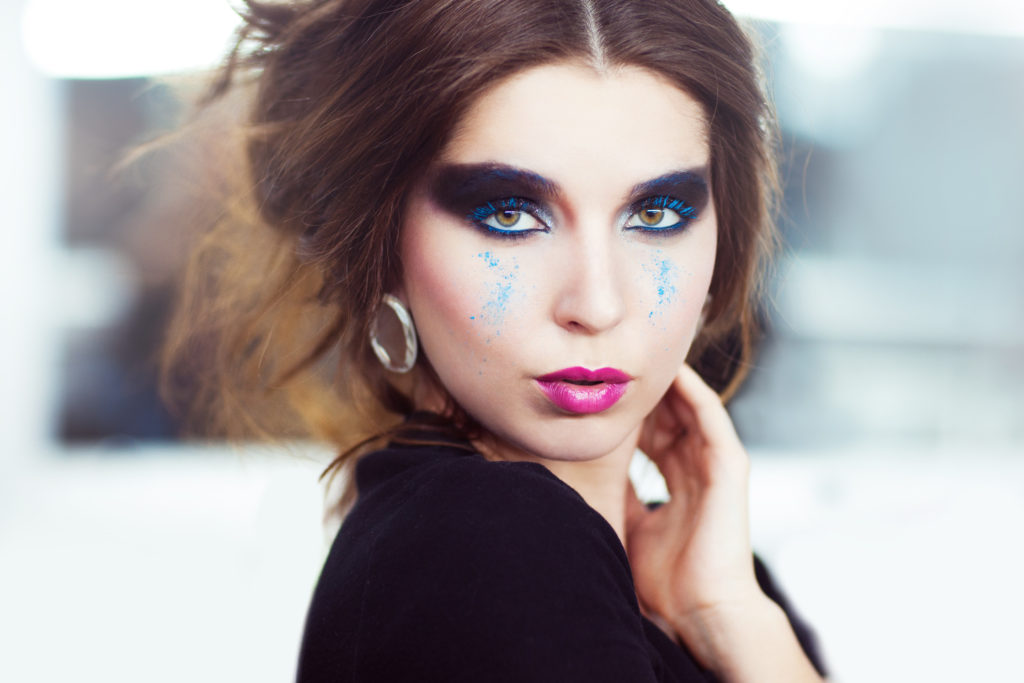
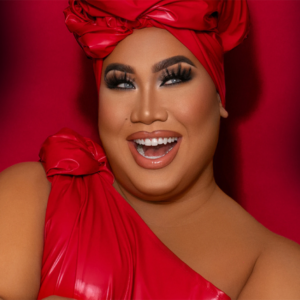
By now, you probably get the gist that Asians tend to go for the innocent, cutesy makeup looks, while Westerners choose a bolder look. That is why Western eye makeups usually go for darker colours like dark browns. Or they might even go super bright and use unconventional colours! They are also bolder when it comes to creating different eyeshadow looks. Just check out all the talented makeup gurus on TikTok! Adding on false lashes and winged eyeliners, you can say the more extra, the better!
4. The Cheeks
Moving on to the cheeks, Asian makeup tutorials usually just put a hint of blusher and they’re done. Creating a simple pink flush on the cheeks pops out perfectly against their pale complexion.
Recently, Western makeup trends have been picking up on swiping blusher across the bridge of your nose. Even though it may have seemed to be popularised by the “E-girl” trend, applying blusher on your nose has been around since the 1970s! This trend can also be seen in the Japanese “Hangover Makeup Look” a few years back! Seems like both the east and west have something in common! Western how to makeup tutorials also emphasise using bronzers and highlights. These help shade and shape your face to your desire. Most people use bronzers to contour their noses and jawlines. A dash of highlight also gives your cheek a shiny glow!
5. The Lips
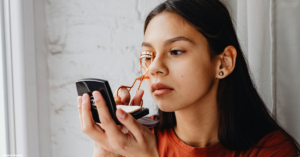
Lastly, pucker up as we take a look at those lips! If you’ve watched a ton of K-Dramas, you know that the go-to lip look is gradient lips. Opting for shades of pink, red or coral these gradient lips add more colour to the centre. To match with their dewy glass skin, use a lip tint and concealer to create the gradient effect.
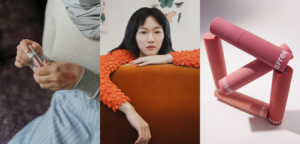
Over in the west, we all know who’s lips are the most famous. That’s right, it’s none other than Kylie Jenner! Remember the Kylie Jenner lip challenge? Everyone was trying to get pout-worthy lips. Well, now lip trends haven’t changed that much as Westerners go for more matte lipsticks with sometimes overlined lips. But, recent makeup trends show that natural makeup looks are coming back so glossy lips are on the roll!
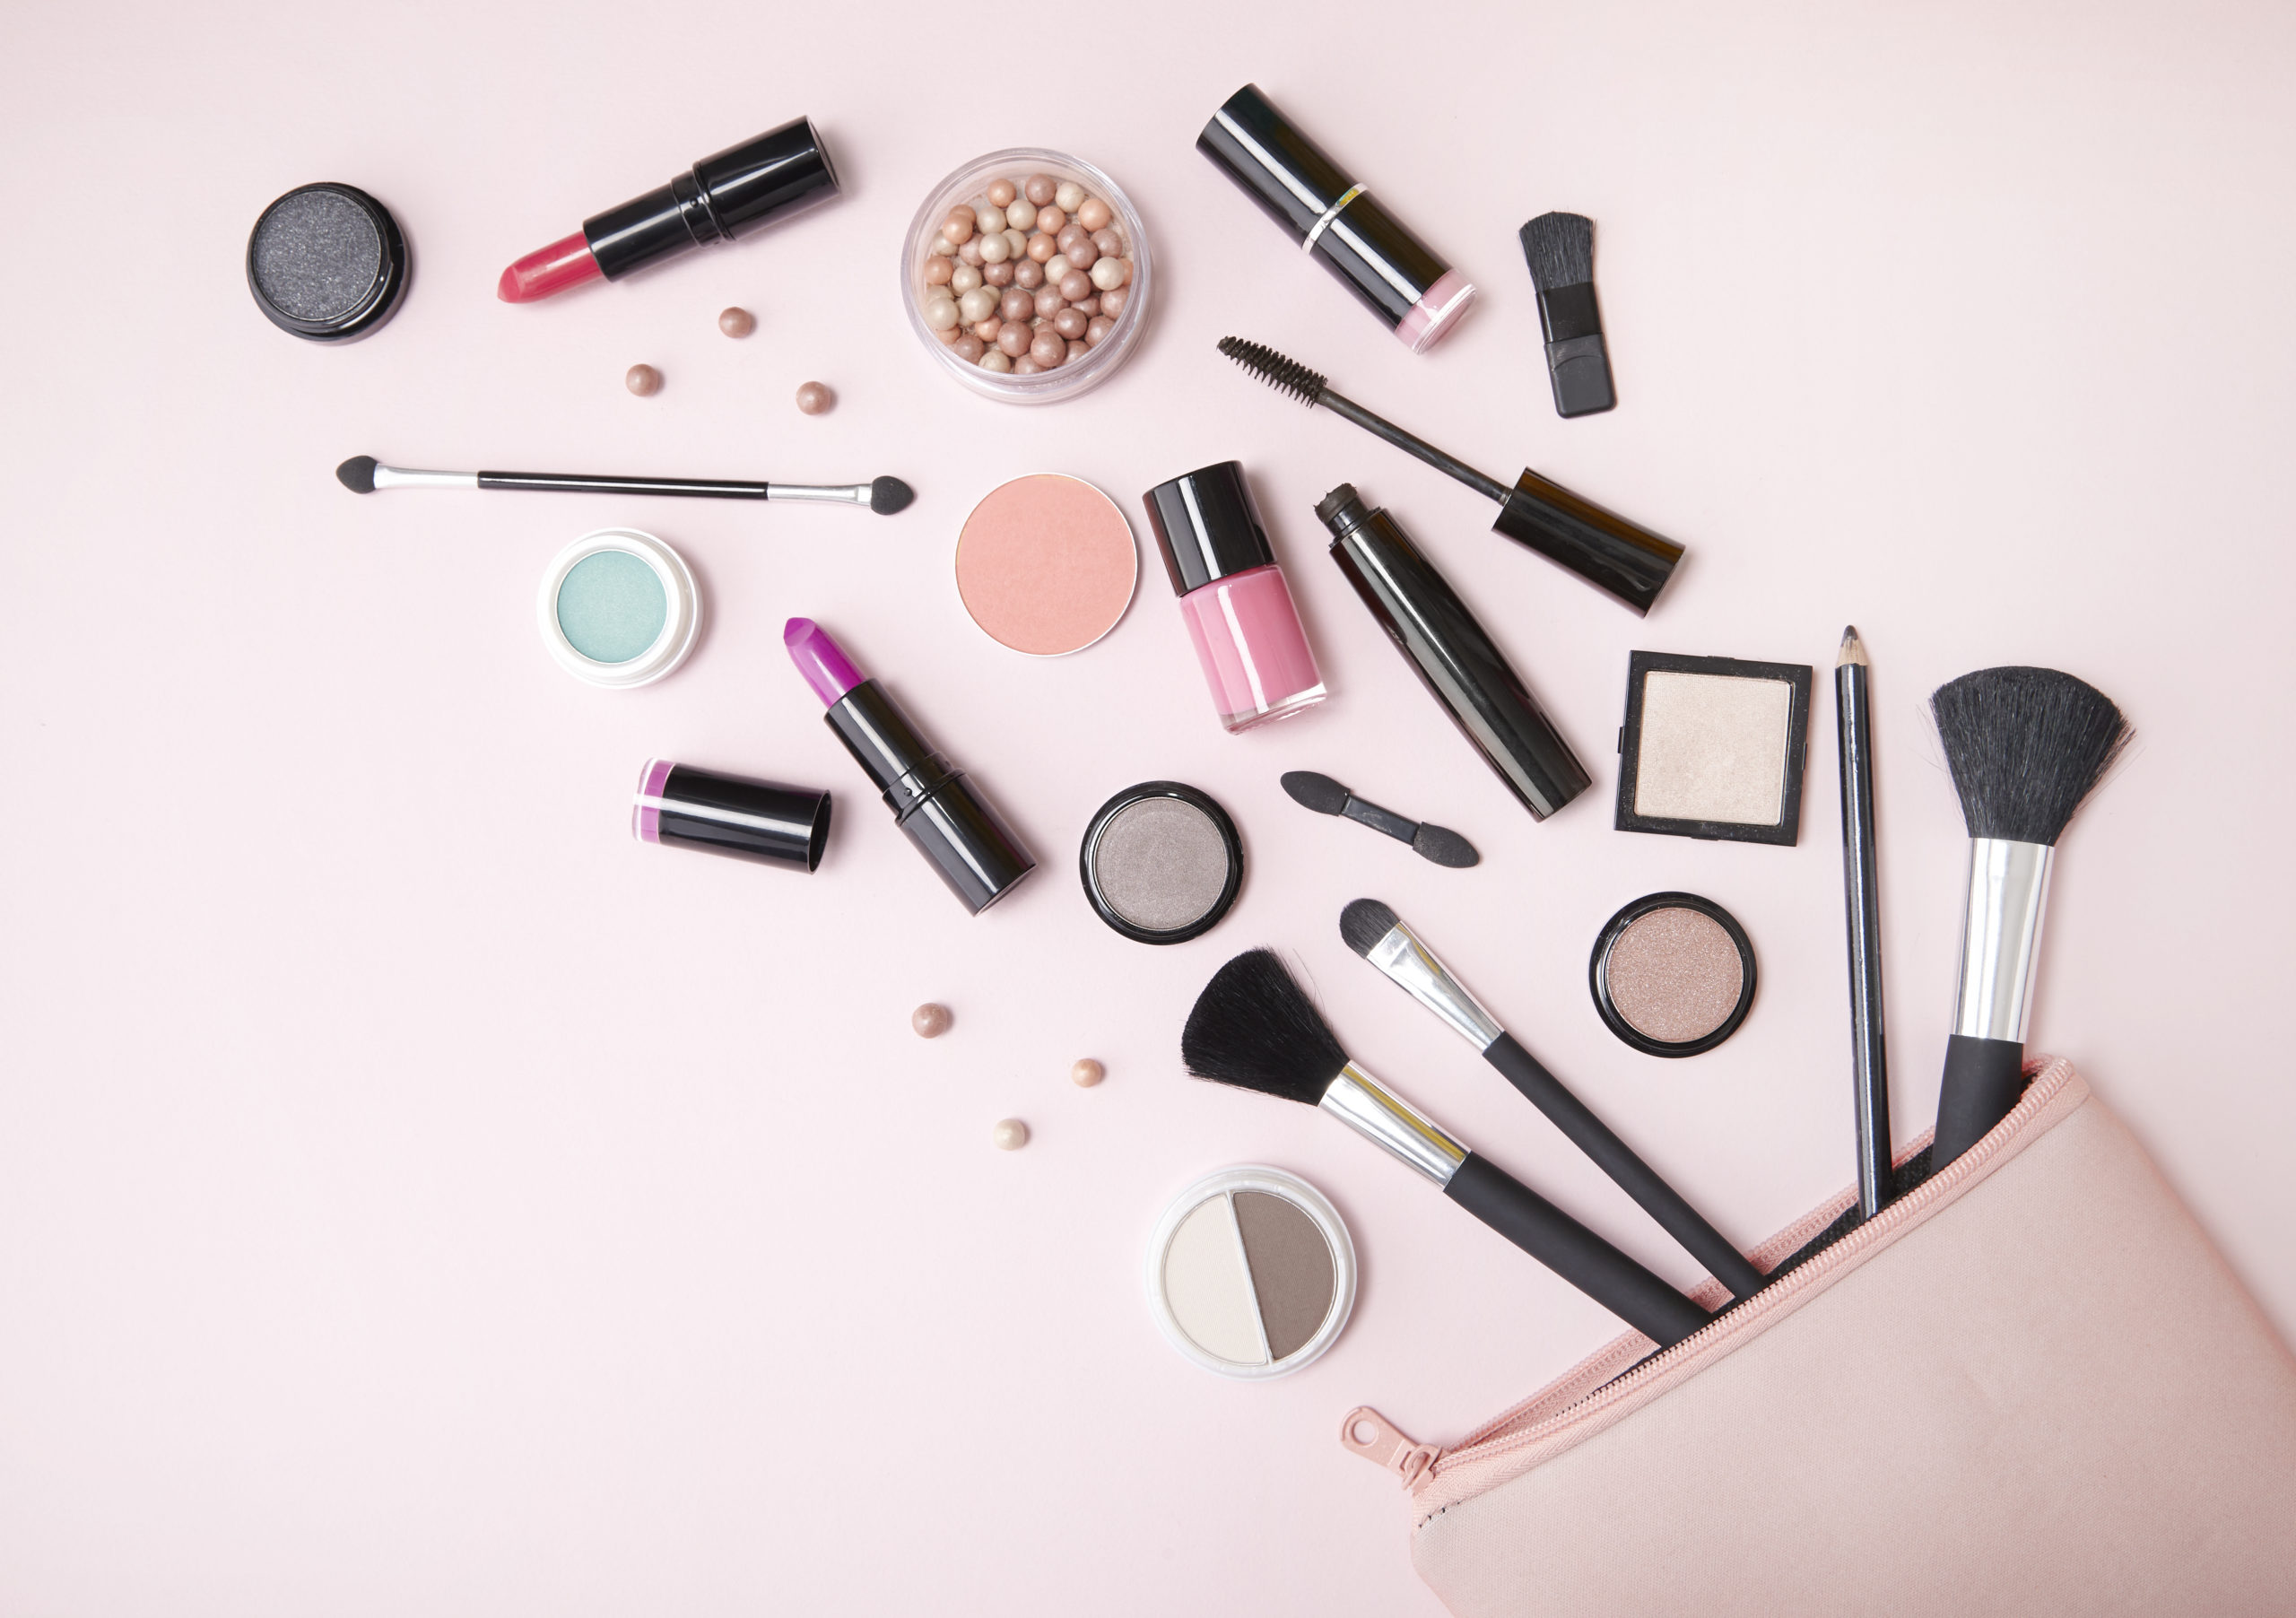
How to Put on Makeup
Now, without further ado, let’s get into how to do a natural makeup look! A little tutorial for those who are new to makeup. Remember, there is no right or wrong way to apply makeup. Everyone has a different way that works for them. If you like doing your brows first, go ahead! If you prefer doing it last, it’s fine as well. Once you learn how to put on makeup, you are just picking out the lessons you liked and applying them to yourself. Kind of like a customised makeup routine! This is why it is different for everyone.
1. Prepping Your Skin
First off, you should always ensure that your skin is clean and ready for makeup. Wash your face and do your skincare routine beforehand. Ensuring that your skin is clean and hydrated will allow the makeup to lay on easier. A step that is essential even if you don’t apply makeup is to always put on sunscreen! Sunscreen can help protect your skin against the sun and prevent premature ageing. Before applying any type of makeup on your face, it’s also a good idea to apply a primer first. A primer acts as a base for a smoother application of makeup. It has the benefits to help blur imperfections, minimise the appearance of pores and even help your makeup to lasts longer.
2. Applying Foundation/Concealer
Next up, you can start applying either your foundation or concealer. If your skin is super clear and flawless, all you need is a little concealer to brighten up your skin. Apply the concealer under your eyes, blemishes and around your nostrils. To blend, use a beauty blender to lightly dab. When applying under your eyes, draw a triangle shape from the inner corners of your eye.
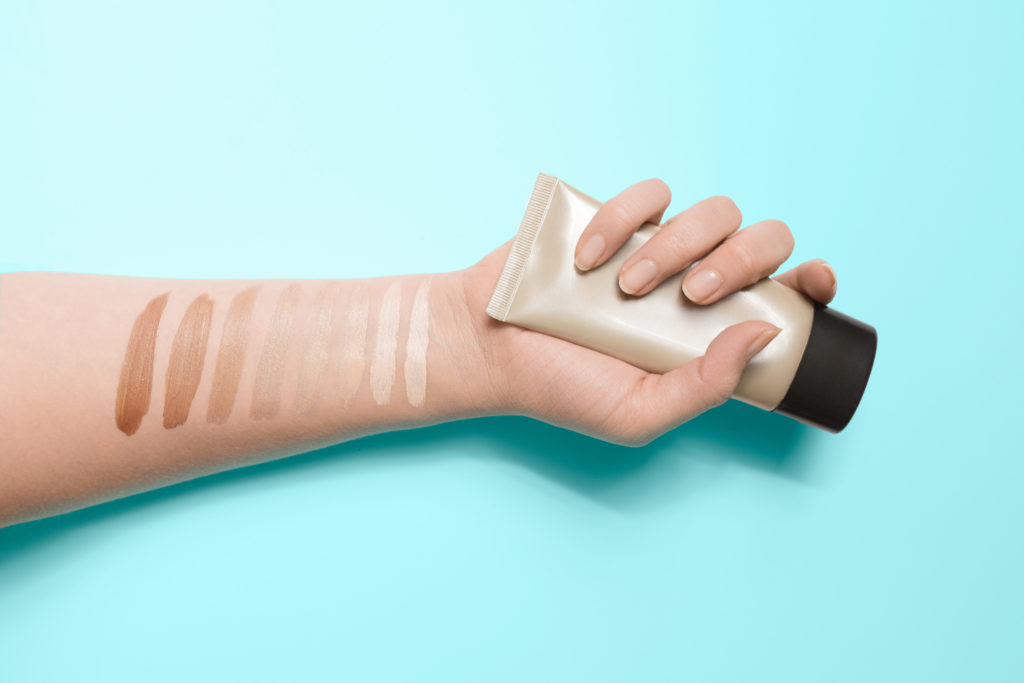
When applying your foundation, always get a shade that is similar to your natural skin tone. If you can’t quite pinpoint your shade, it’s best to get a shade lighter rather than darker. This way, you don’t end up with a shade that doesn’t match the rest of your body! Apply a small amount of foundation onto the back of your hand, applying thin layers at a time to your face. Blend it out with a beauty blender layer by layer so you don’t end up with too much foundation on your skin.
3. Setting Your Undereyes
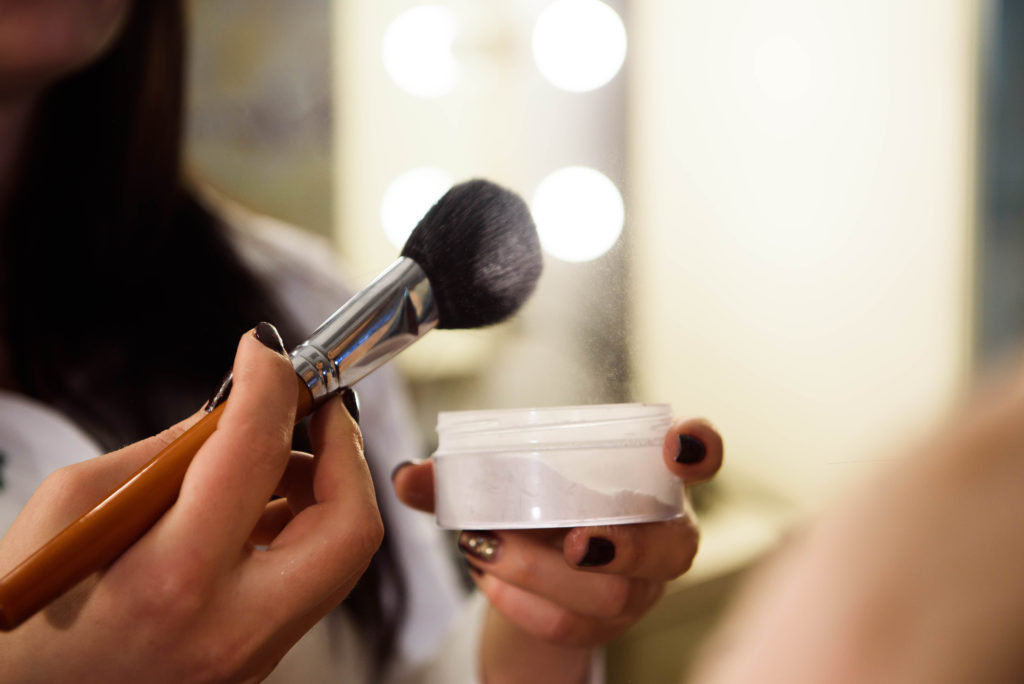
After you’ve applied your foundation and concealer, or either one, you can apply setting powder. You should apply it under your eyes and anywhere else that gets oily quickly. Use a powder, bronzer or blush brush to press the powder onto your face. After applying, you can let it sit for a few minutes. So let’s move onto the next step!
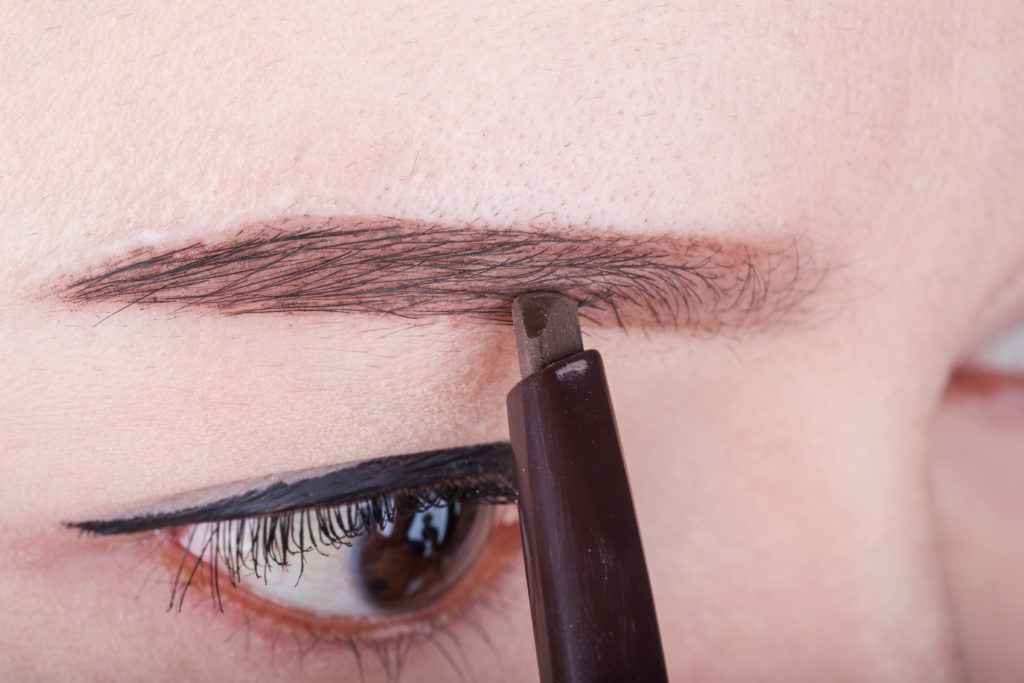
4. Draw Your Eyebrows
As our face-framing feature, there several ways to draw your eyebrow. You can use an eyebrow pencil, a brow powder or a gel pen. Use a colour that suits you the best and lightly fill in your brows. A good tip is to find the three points of your eyebrow. The front, highest point ant tail. To find the front, align your pencil with the inner corner of your eye. Align your pencil diagonally through your iris to find the highest point. Lastly, align with the outer corners of your eye to find the tail. Now, connect the dots!
5. Time For the Eyes
For beginners in makeup, all you need to know is three steps. Using an eyeshadow brush, apply the darkest colour first on the crease of your eye and the outer corners. Blending it outwards and upwards. You can also dab with your fingers to soften the look. Next, take the second lightest colour and apply it to the centre of your eye, blending it in with the darker colour. Lastly, take your lightest shade, glittery or not and dab a bit onto the centre of your eyelid and inner corners. Curl your lashes and apply some mascara to give your lashes some volume. For your eyeliner, draw a triangle going up and colour it in.
6. Blusher Time
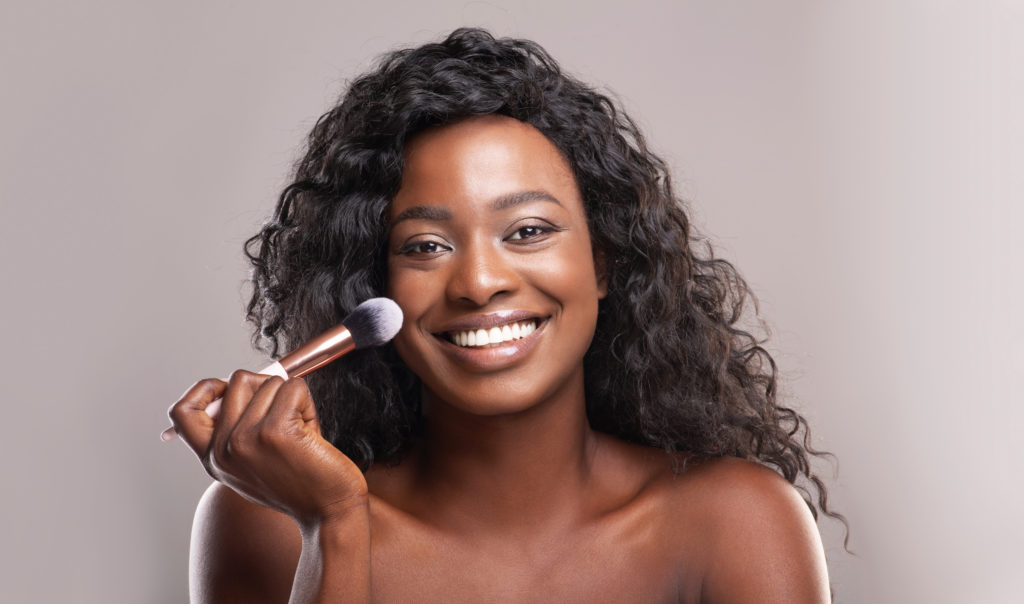
Applying blusher is easy! All you have to do is smile and apply to the apples of your cheek! Using a wide fan brush or a blusher brush, you just need to blend it out. It’s best to blend from your temples to the highs of your cheekbone.
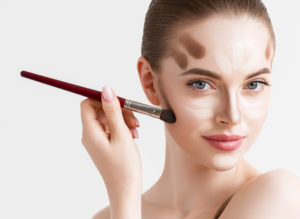
7. Contouring and Highlighting
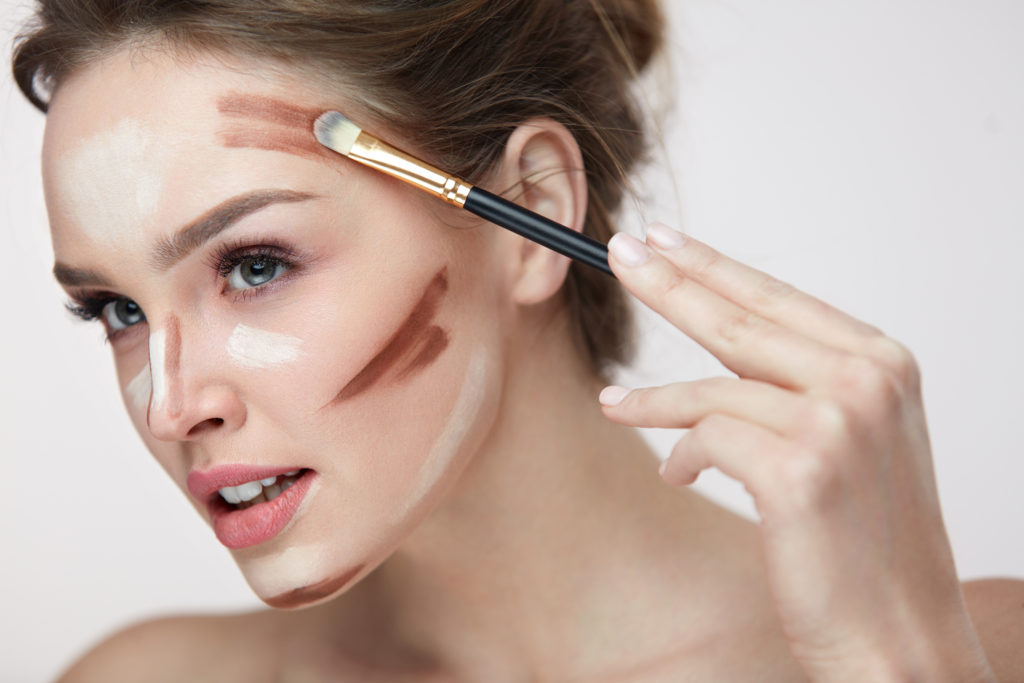
So, when contouring your face, you should use a bronzer and apply it under your jawline, near your hairline and the sides of your cheek. Using an angled or contour brush, you can bring dimension to your face. To contour your nose, apply along the bridge of your nose and the tip. If you want a button nose, just draw a small triangle to connect the tip of your nose. Also, shade the sides of your nostril to make it look smaller. For a glow here and there, apply some highlighter to your cheekbones and the tip of your nose.
8. Pouting Lips
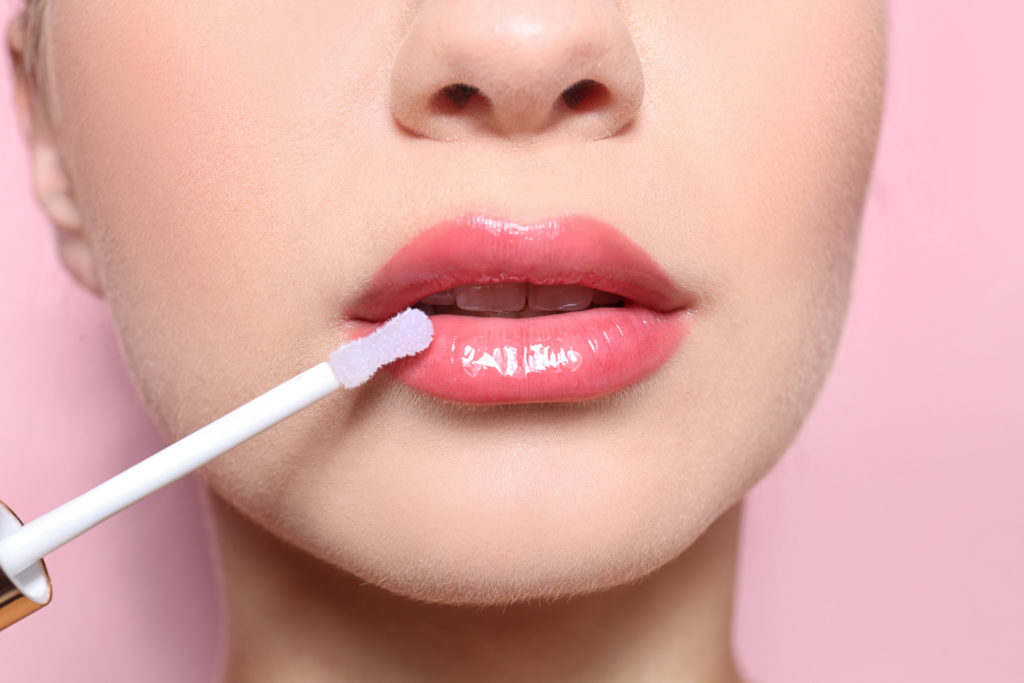
Lastly, finish off with a lipstick shade of your choice. Choose between using a matte finishing lipstick or just a simple pink lipgloss! Pucker up and apply an even coat onto your lips. Dab your lips with some tissue to remove some excess product.